
How to make perfect nails at home
Posted by Hannah on 2nd Jun 2017
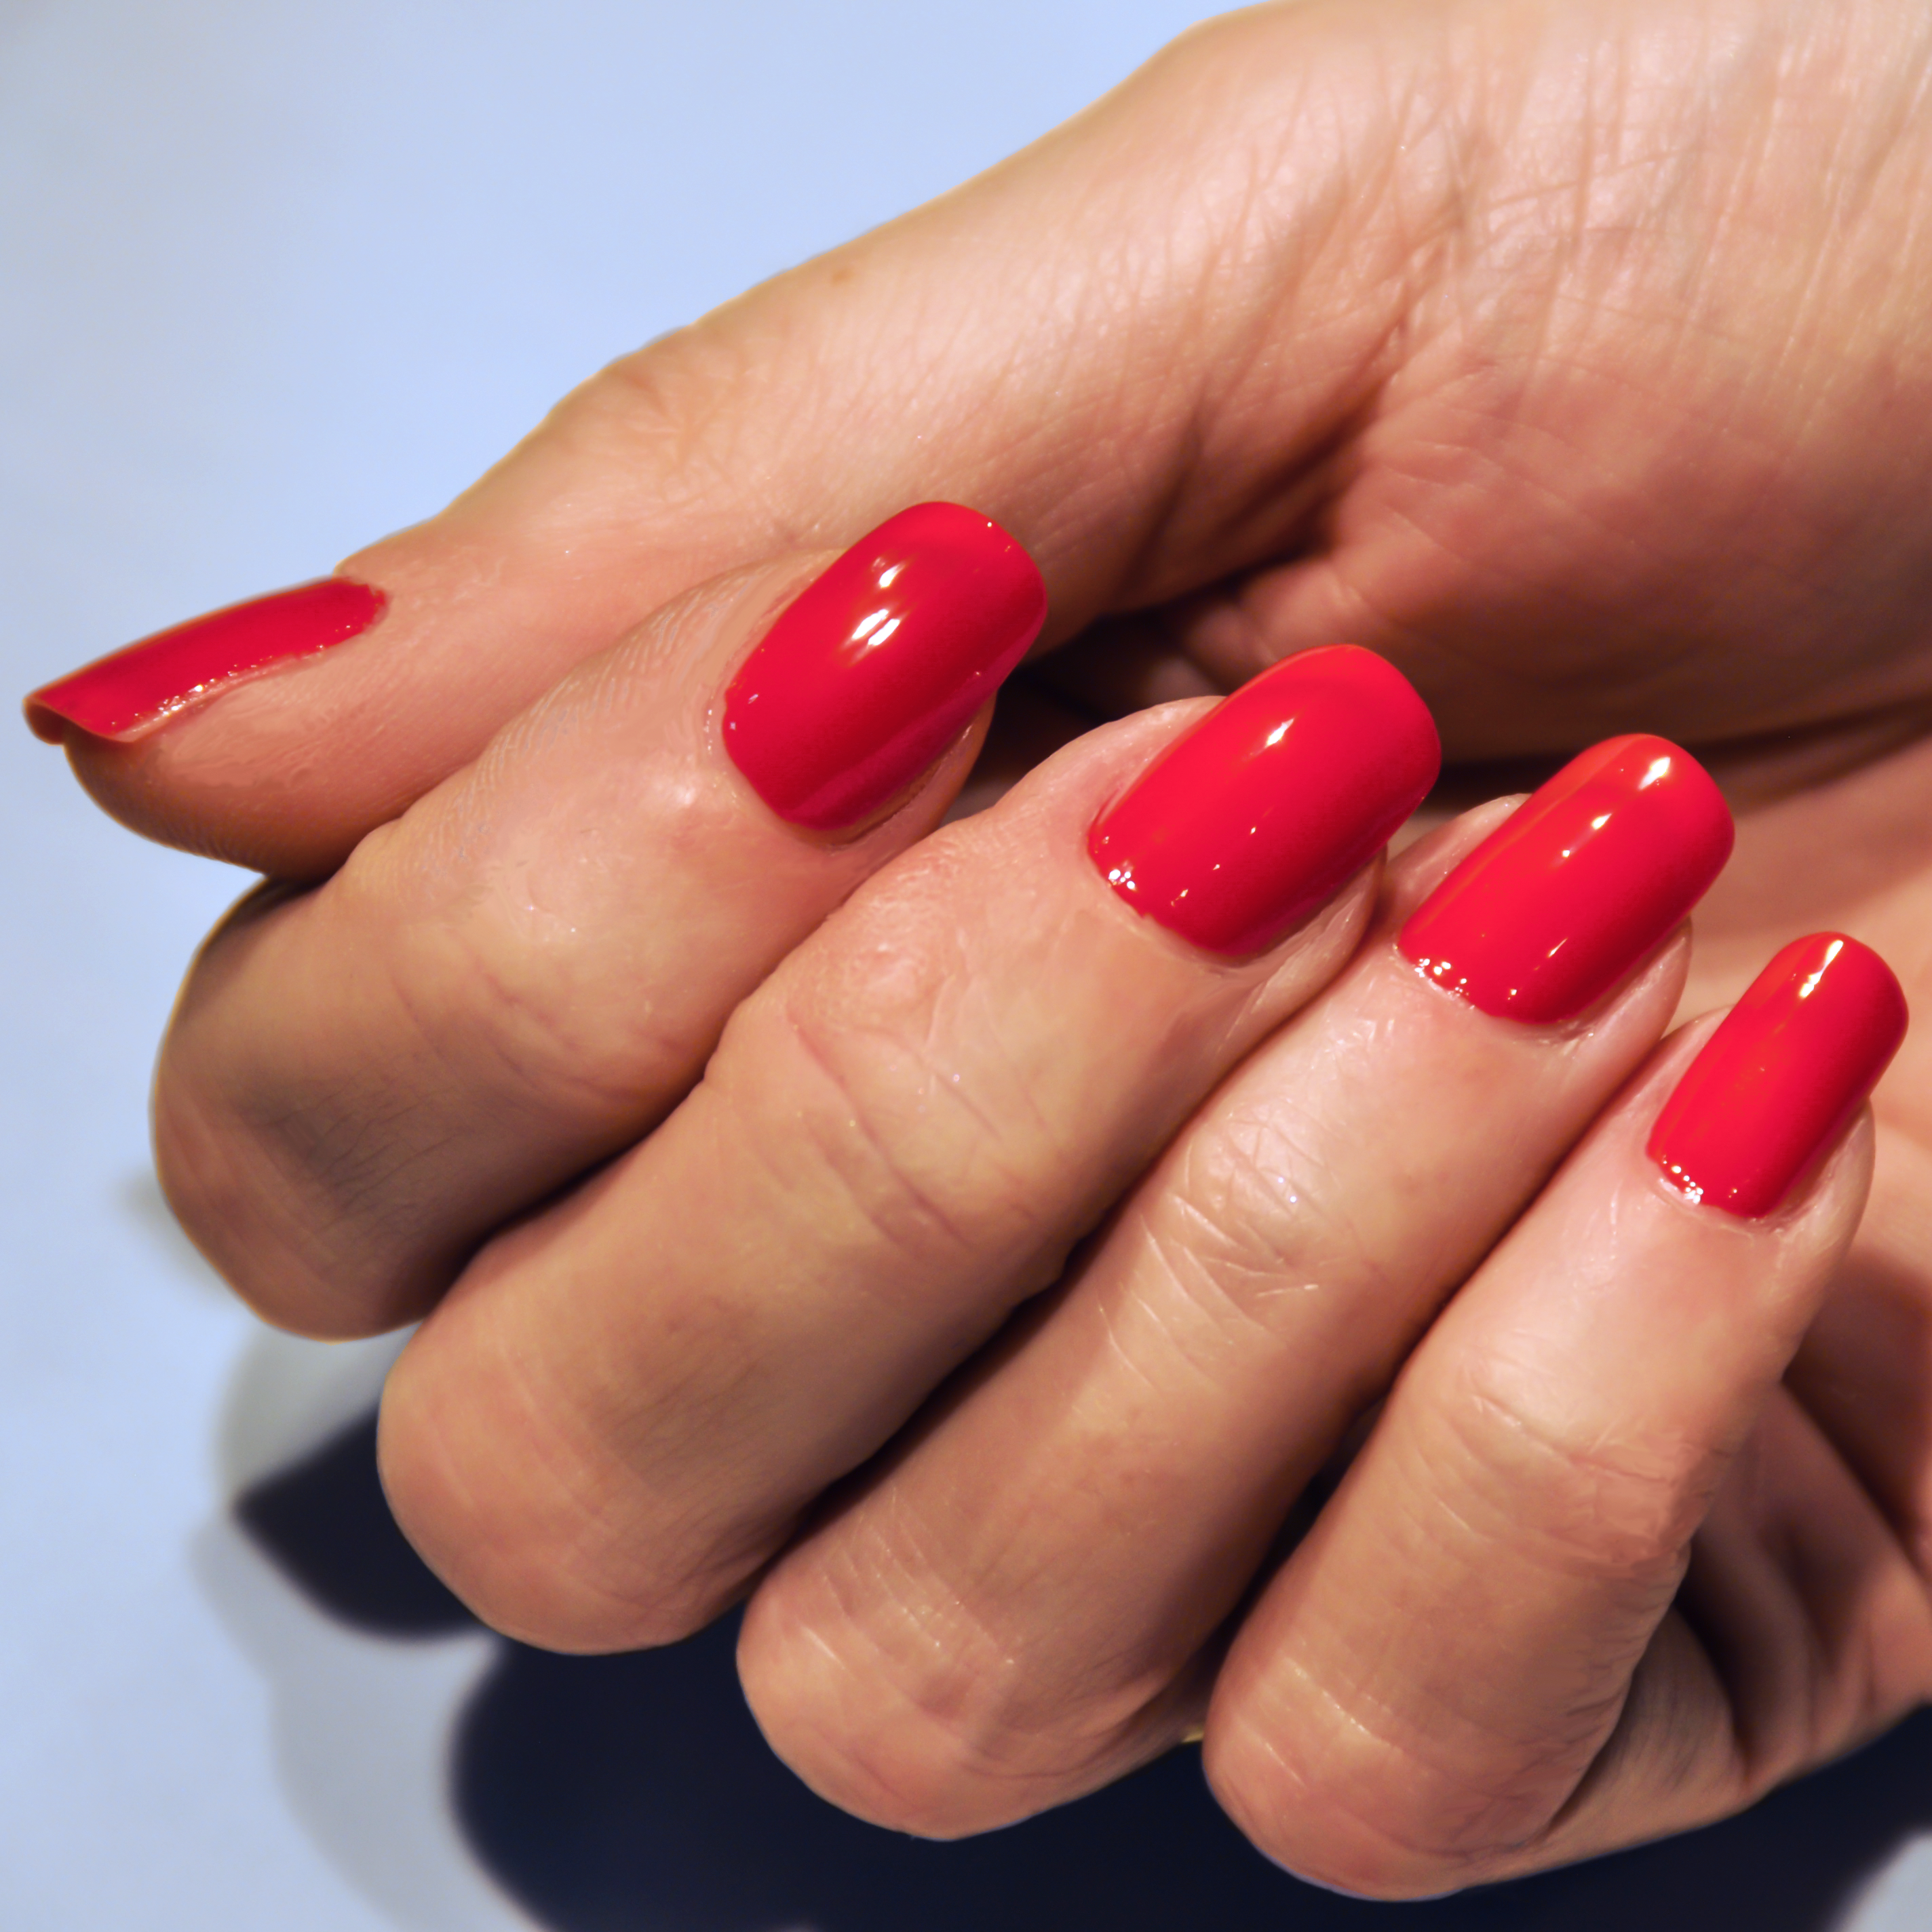
Believe it or not it is perfectly possible to create beautiful nails at home, you just need the three important p’s: preparation, patience, and practise (and play)!
Prepare!
Being prepared will make a big difference to the final result – and that also means allowing enough time! Nails do take a while to do properly, but it is worth it as the finished effect will not only be more satisfyingly better, but will last longer. Do make sure your work space is comfortable too, and you have other distractions whilst the nails are drying - we have all suffered from impatience and destroyed the hard work!
Gather your collection of serious nail application tools: Cotton wool balls (no bits dropping off like tissues), cotton buds (pointed ones are most helpful) and Kind Remover for cleaning, nails clippers, file and cuticle stick for preparation, and treatments and colours required for the application – base coat, colours, top coat. Finally, cover your table with a protective layer.
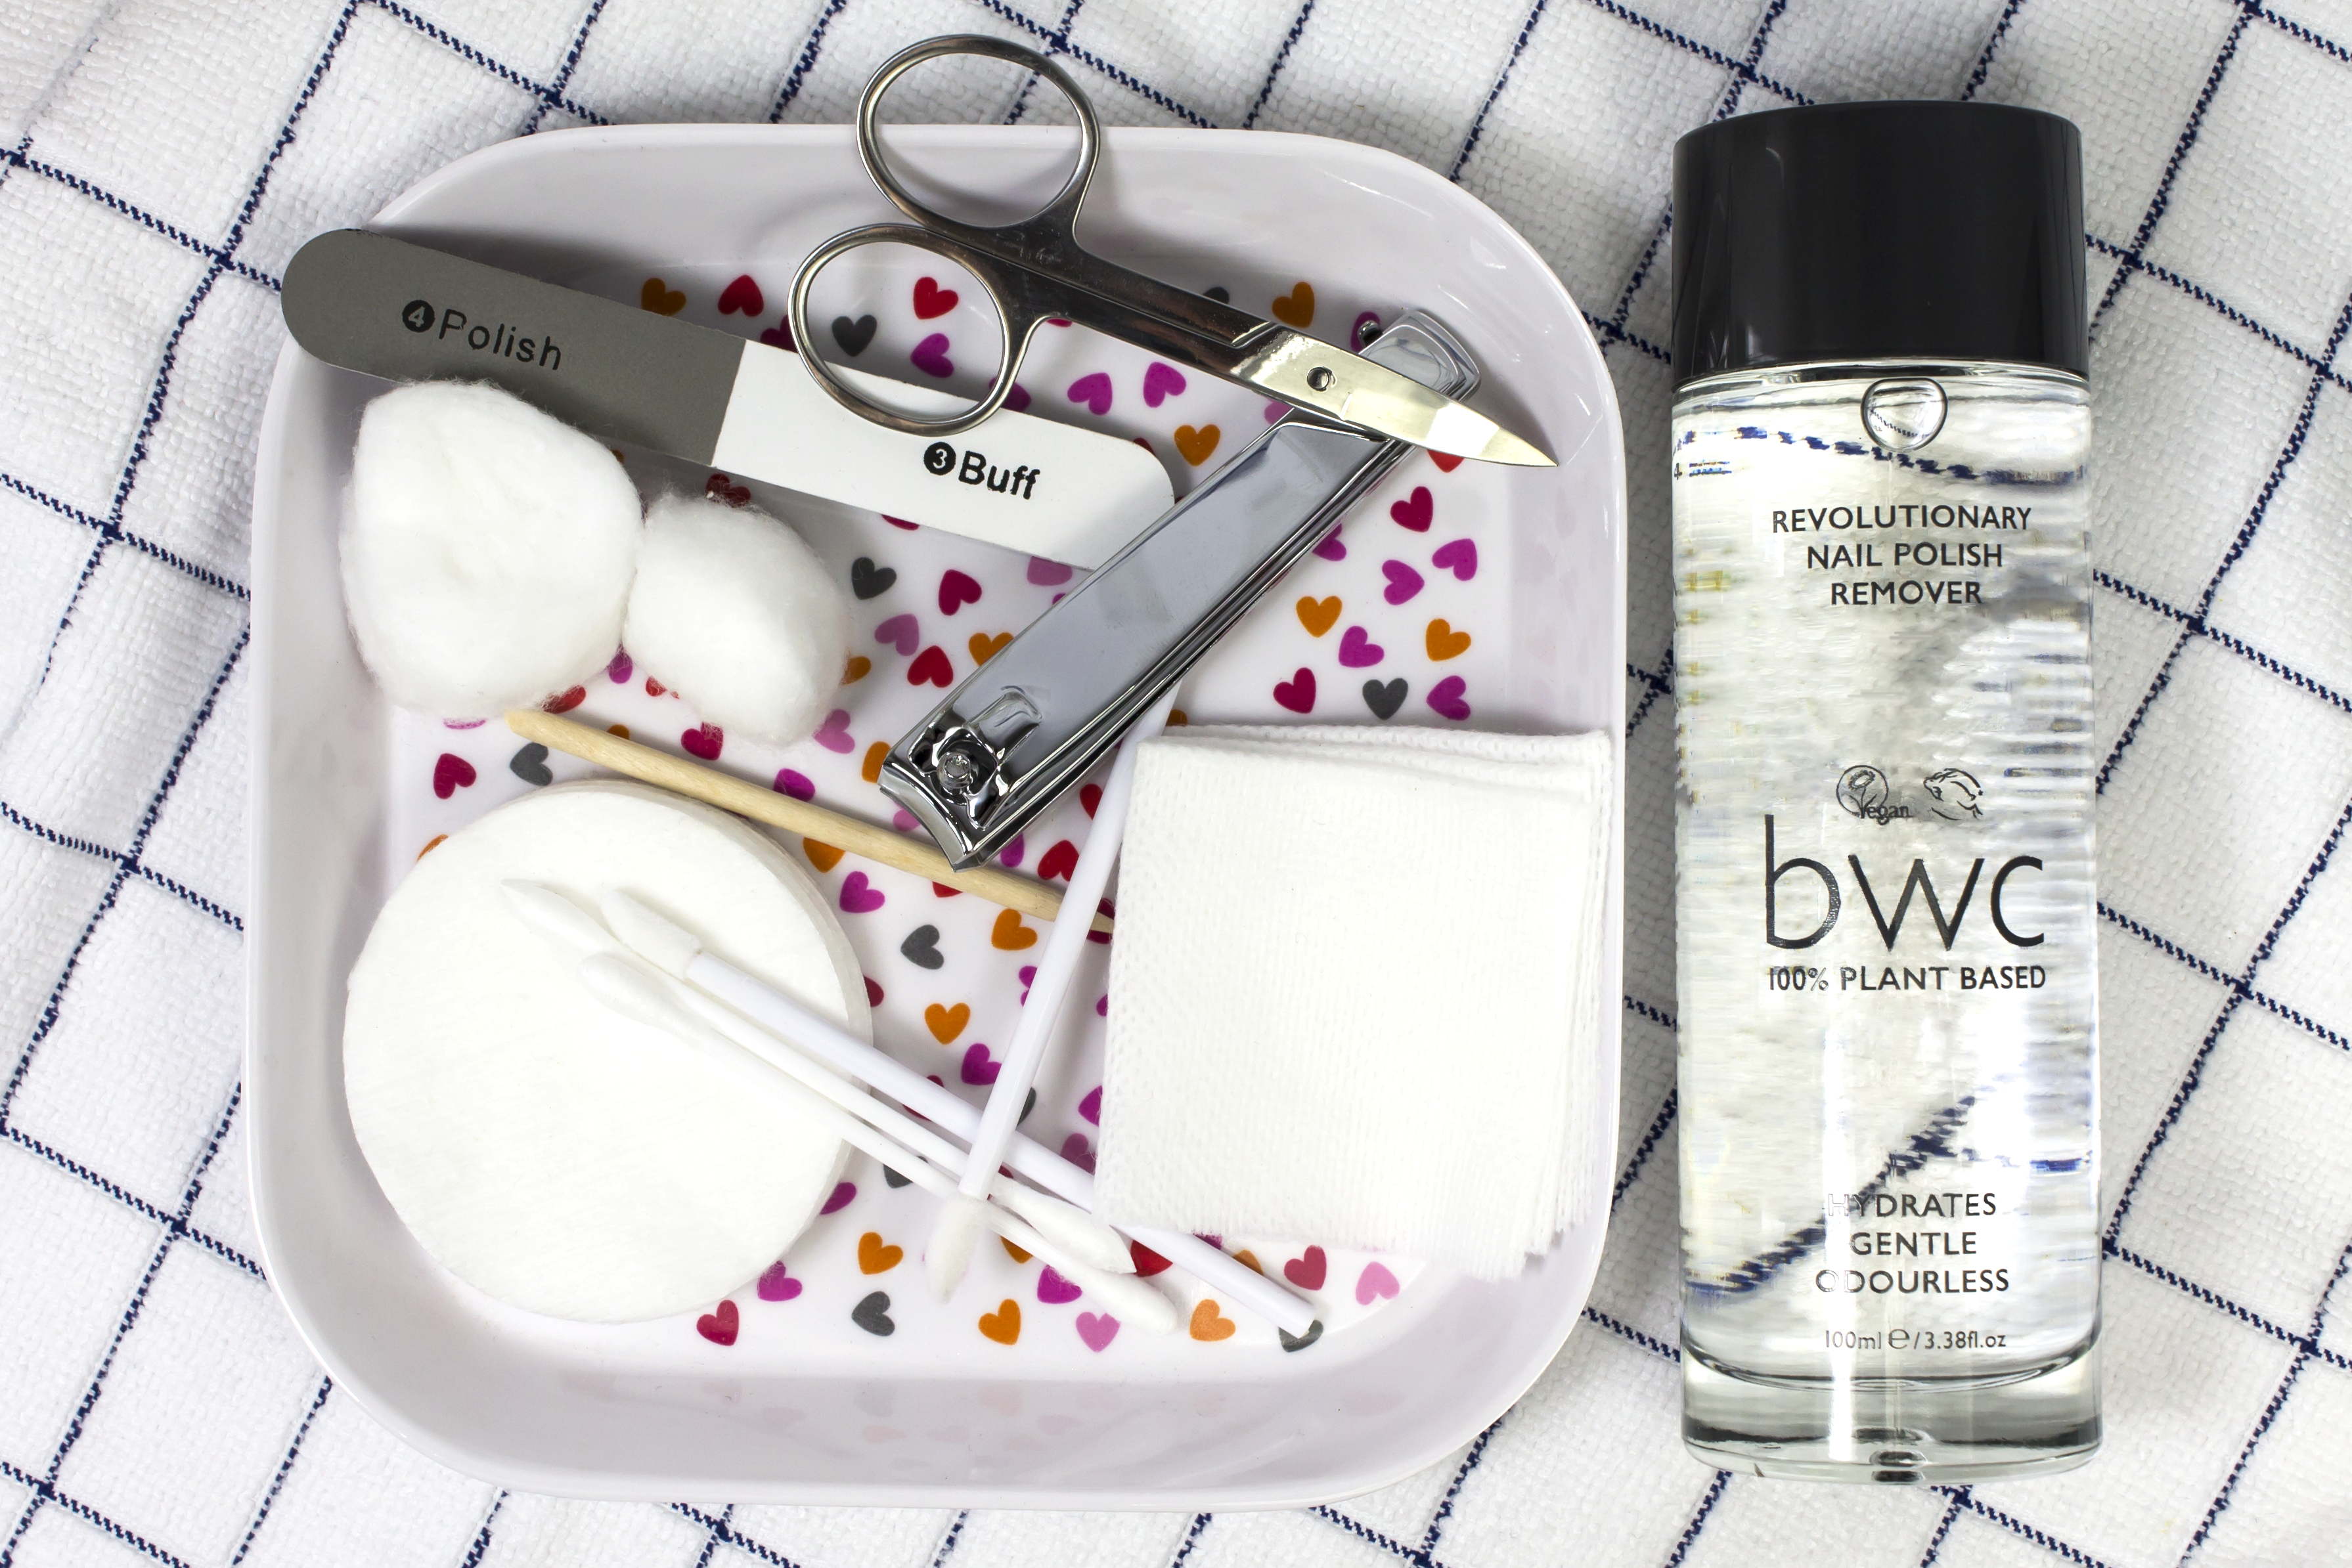
Begin with a thorough clean even if you do not already have polish to remove. The bwc Kind Caring Remover will moisturise and nourish your nail plate as well as strip out old colour, dirt and oils and allow the nail colours to adhere more firmly. Carefully reshape and sand your nails into your desired style, whether square, rounded or pointed, long or short. Try to make all the nails the same! Use the cuticle stick to push back the cuticle – you may need to soak your fingers in warm water first to soften the skin – and don’t forget to thoroughly dry them afterwards! You may want to wipe over with the remover after this.
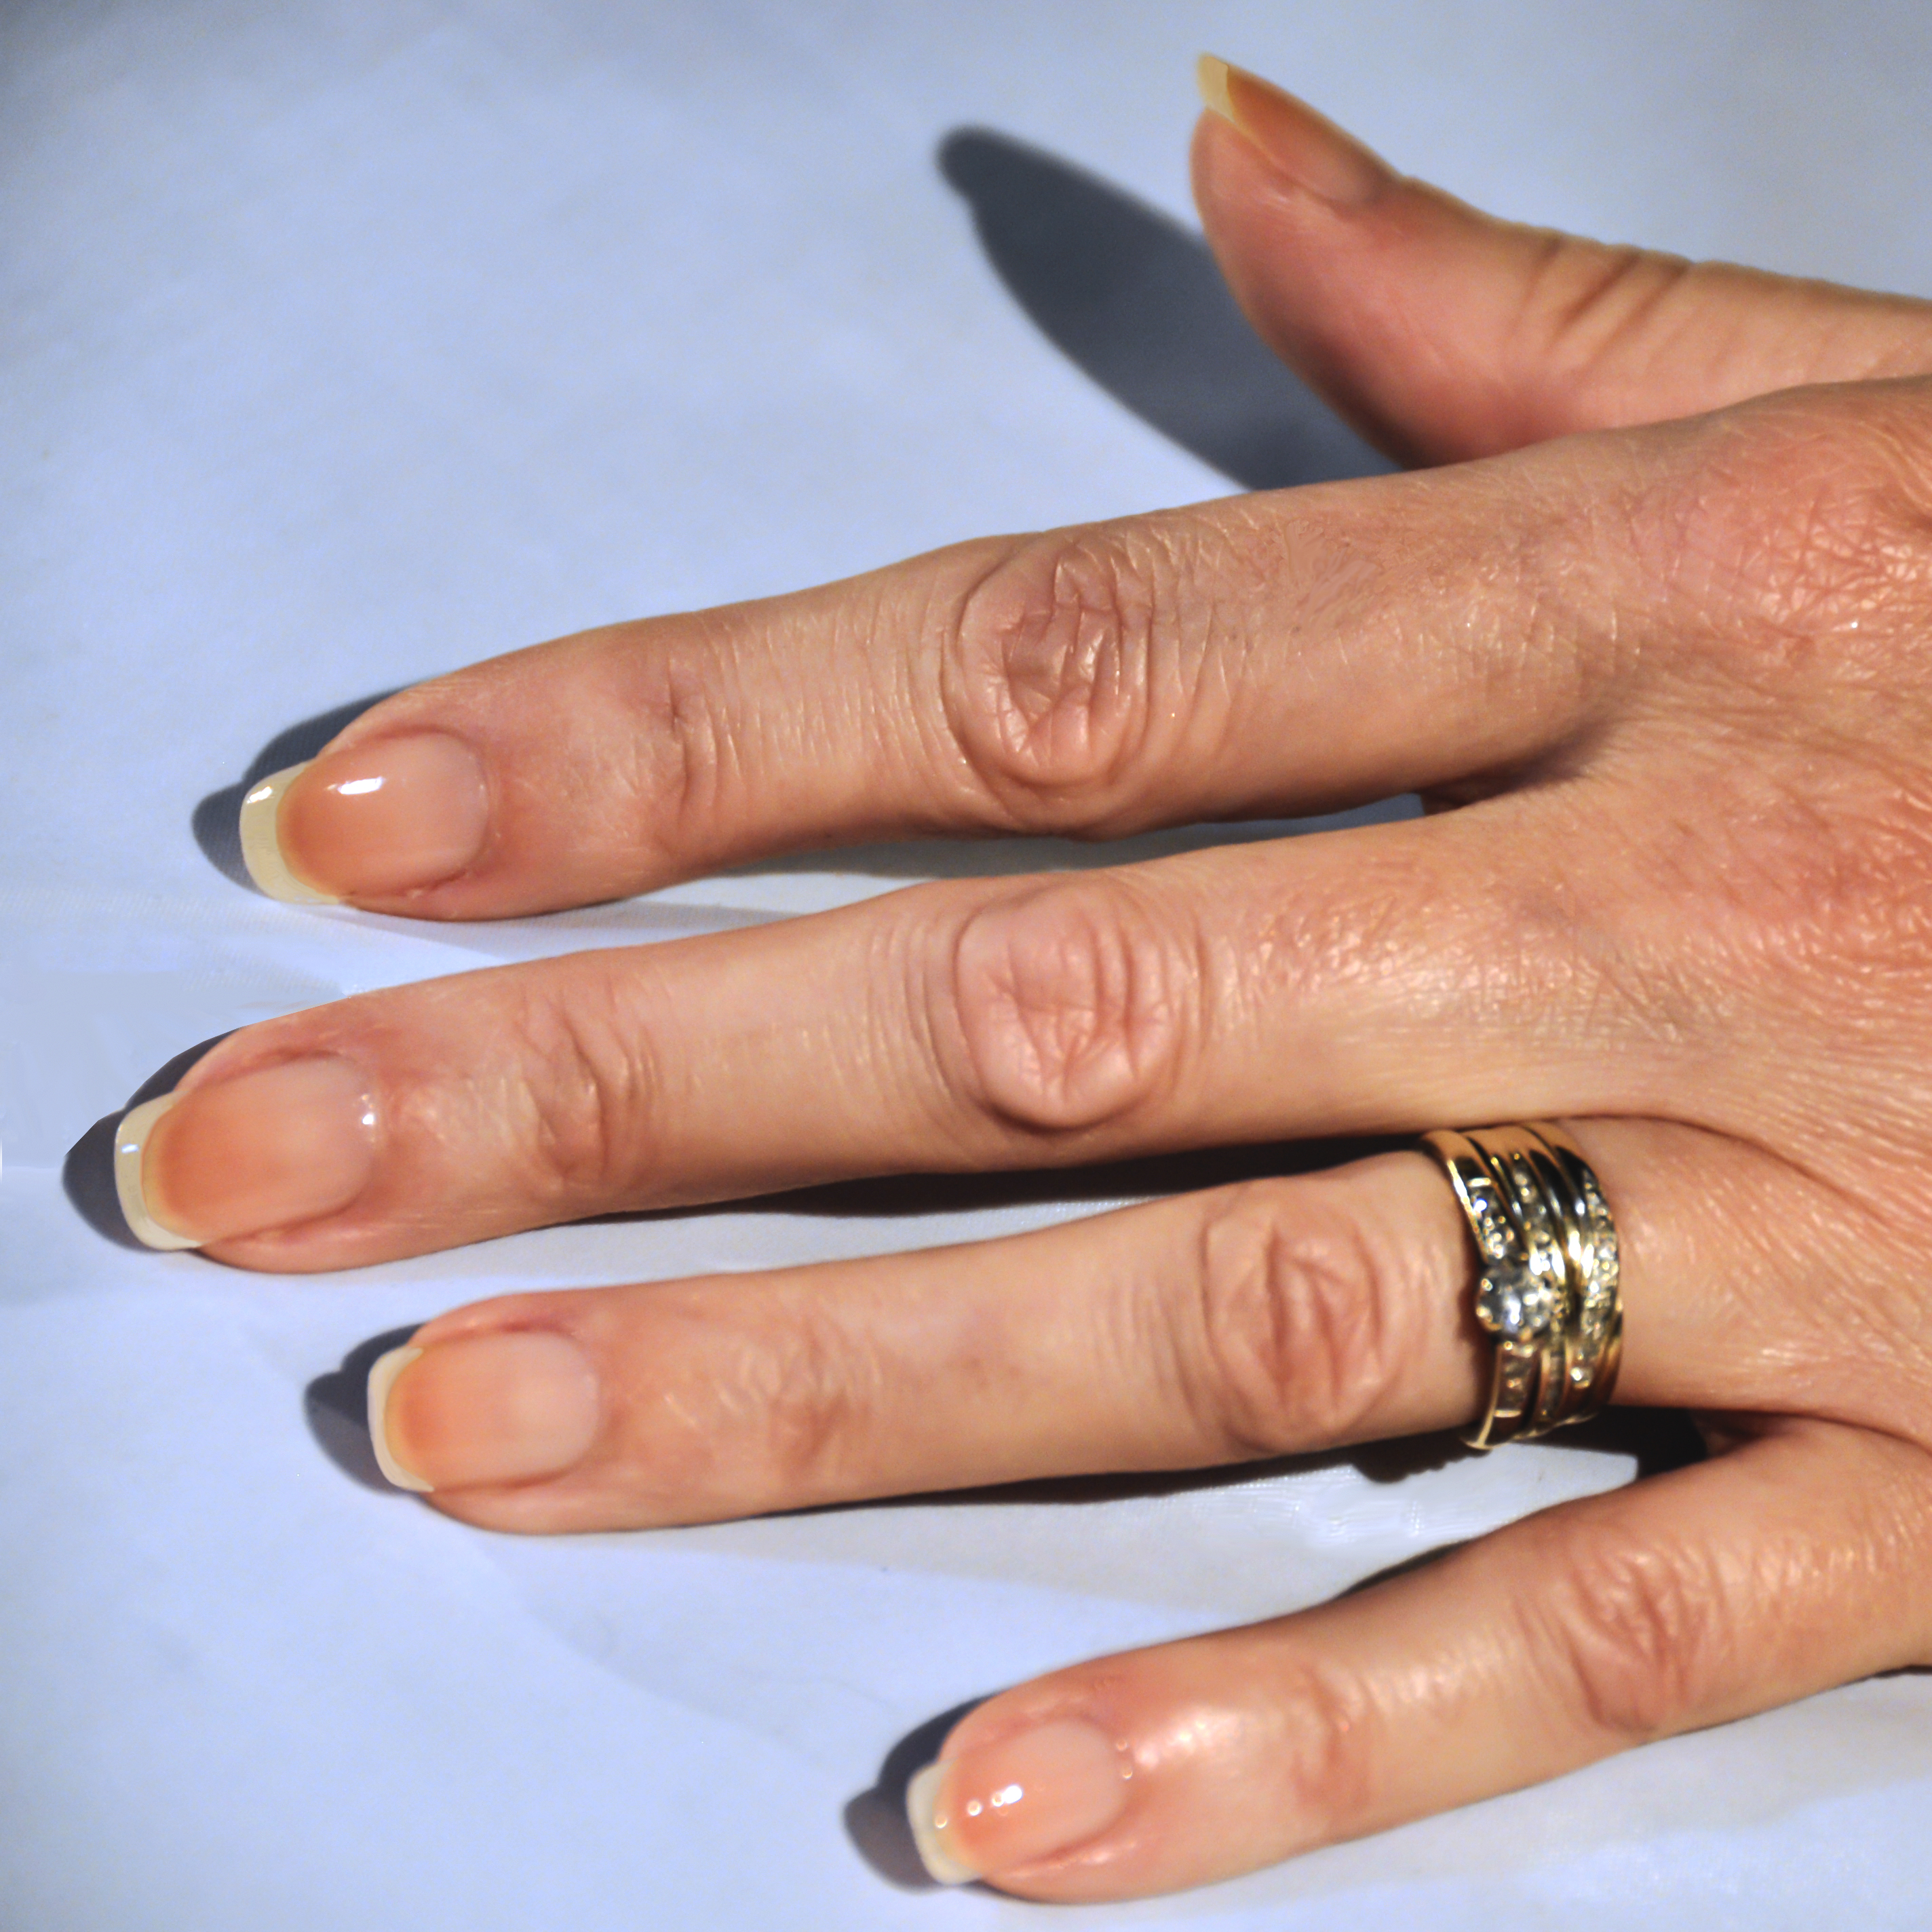
Nearly to the fun part! However, you do need to start with a coat of clear base coat – use either the bwc Kind Caring Nails Base Coat or Hardener (or a thin coat of each is fine), or a coat of Attitude Nails Clear. This protects the nail plate and fills in any ridges so that the final effect is much smoother and more glass like.
Pressing your fingers firmly onto the table to avoid excessive movement, apply as you would the nail colour ie three stripes (see below) but don’t worry about the edges, it’s clear so any mishaps won’t show! This coat must be completely dry before you apply any colour, so sit back and relax for a few minutes!
Patience!
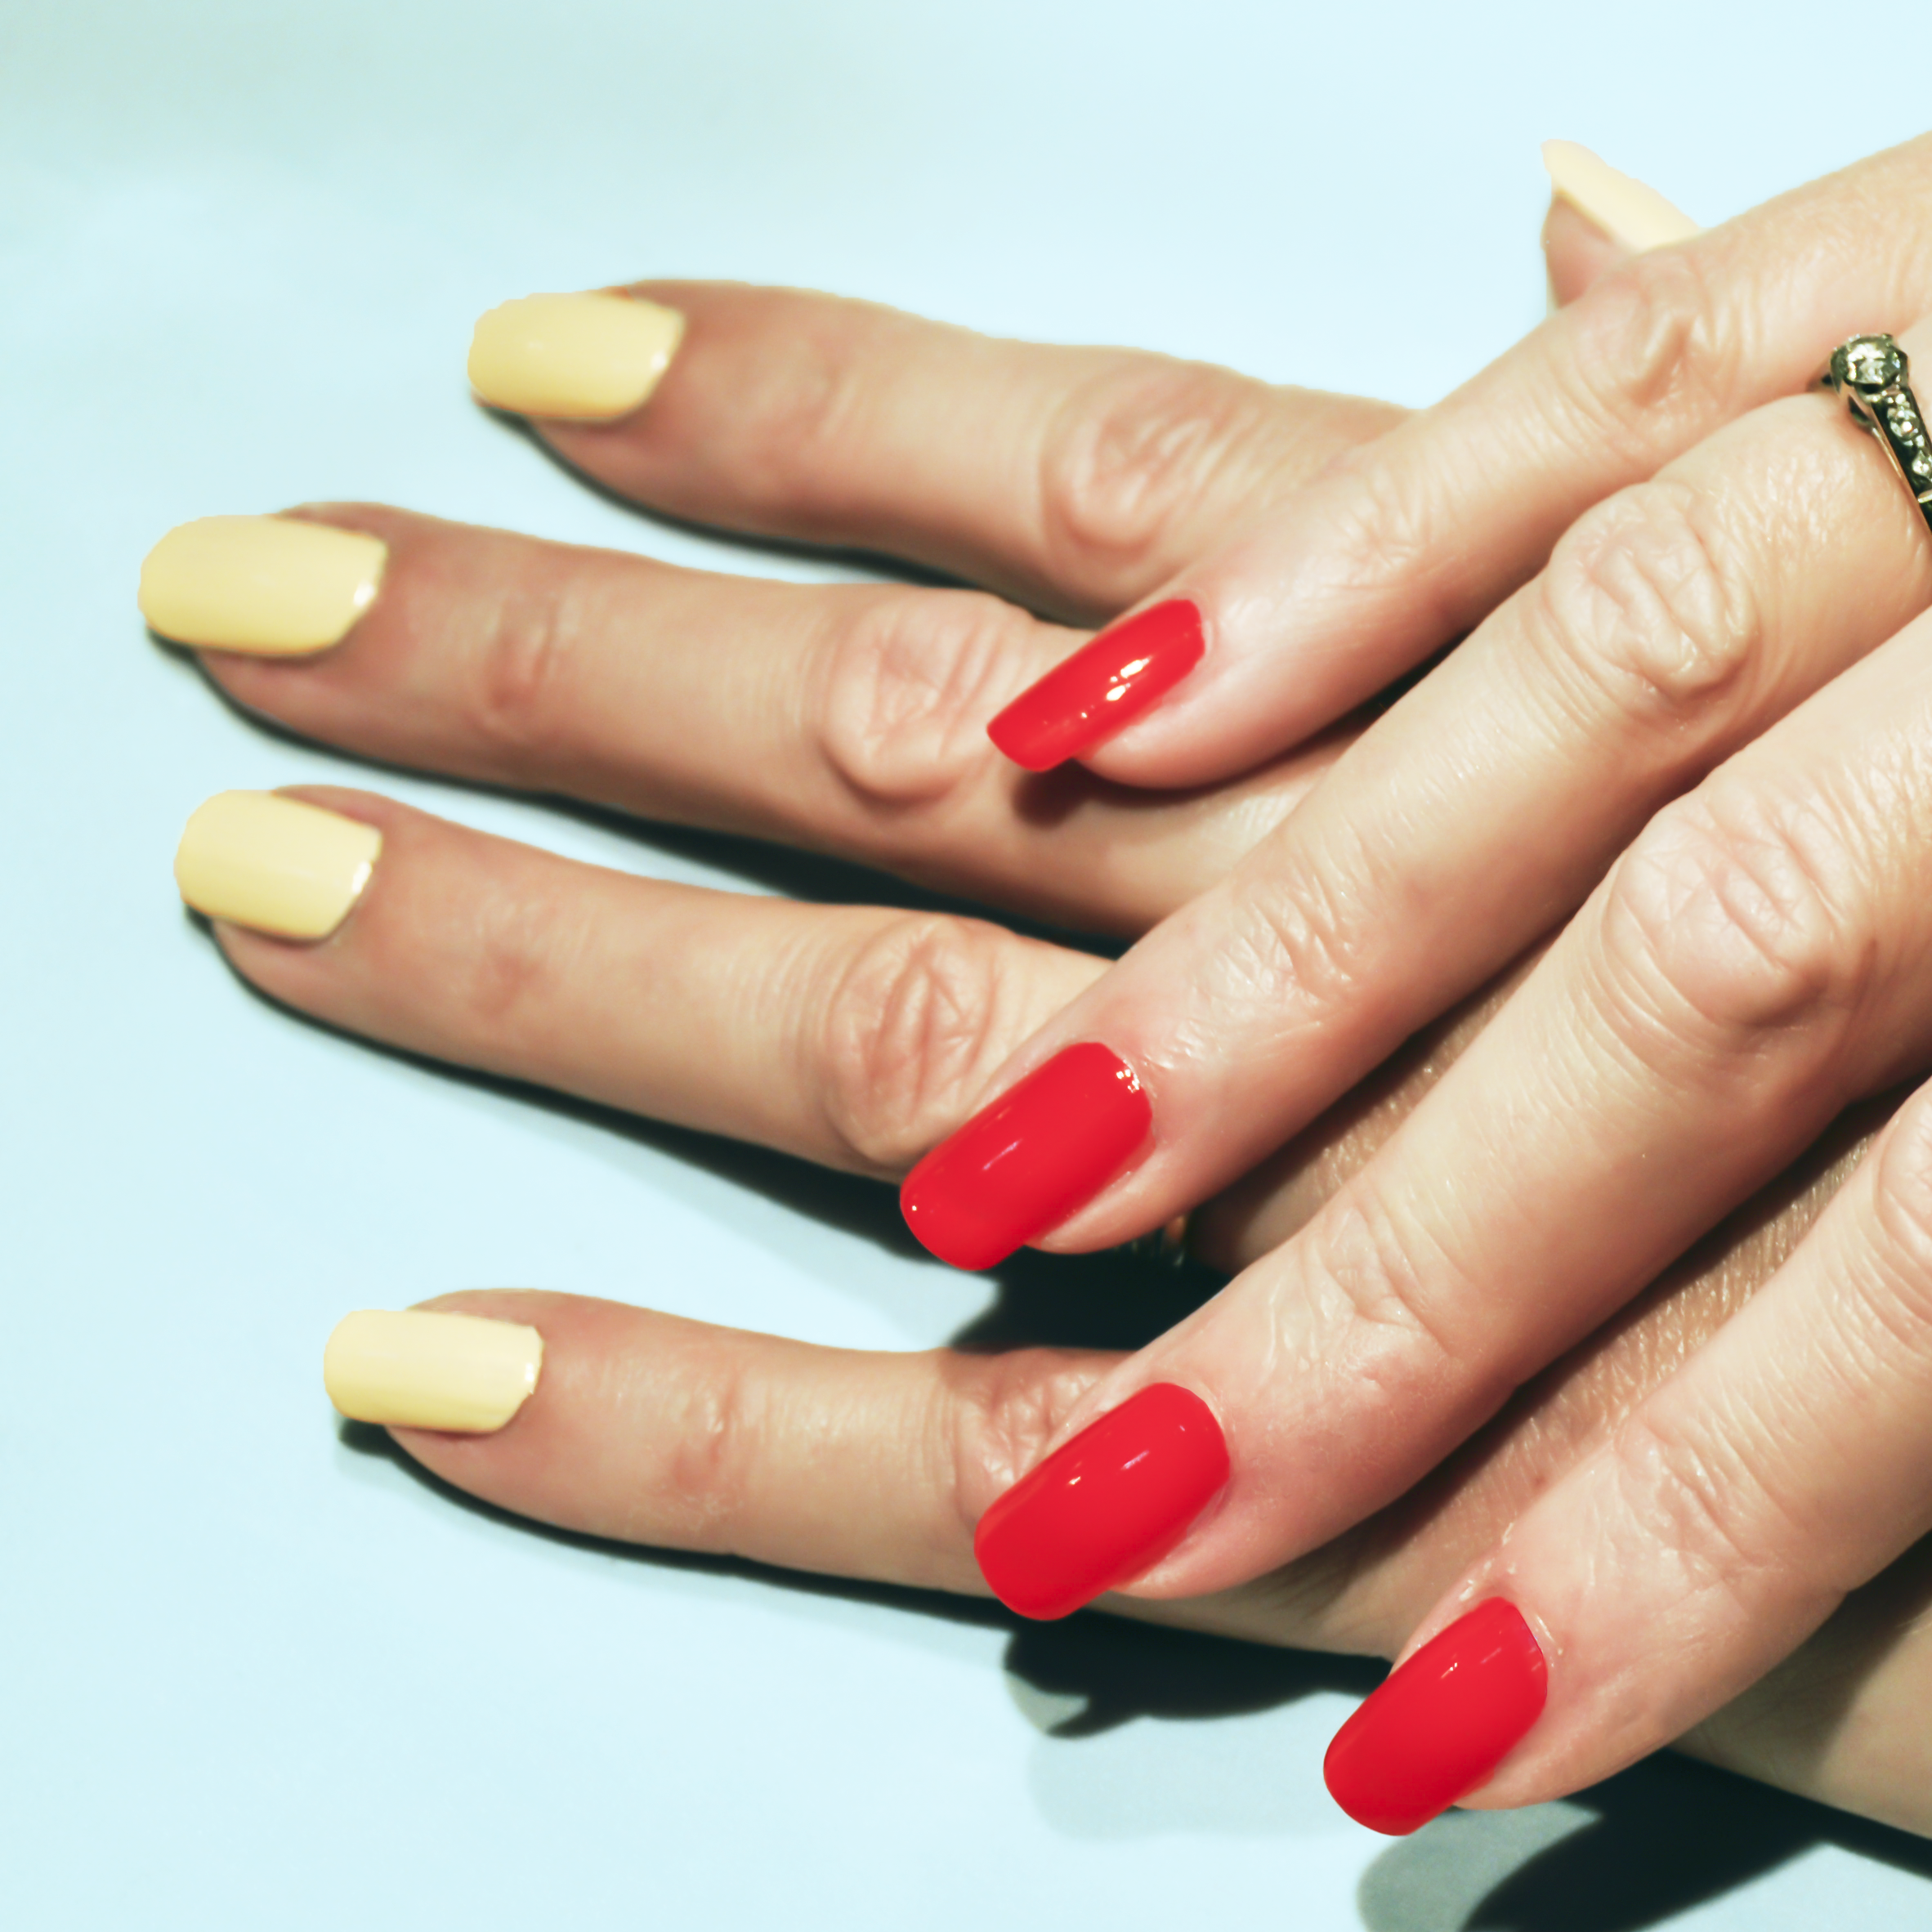
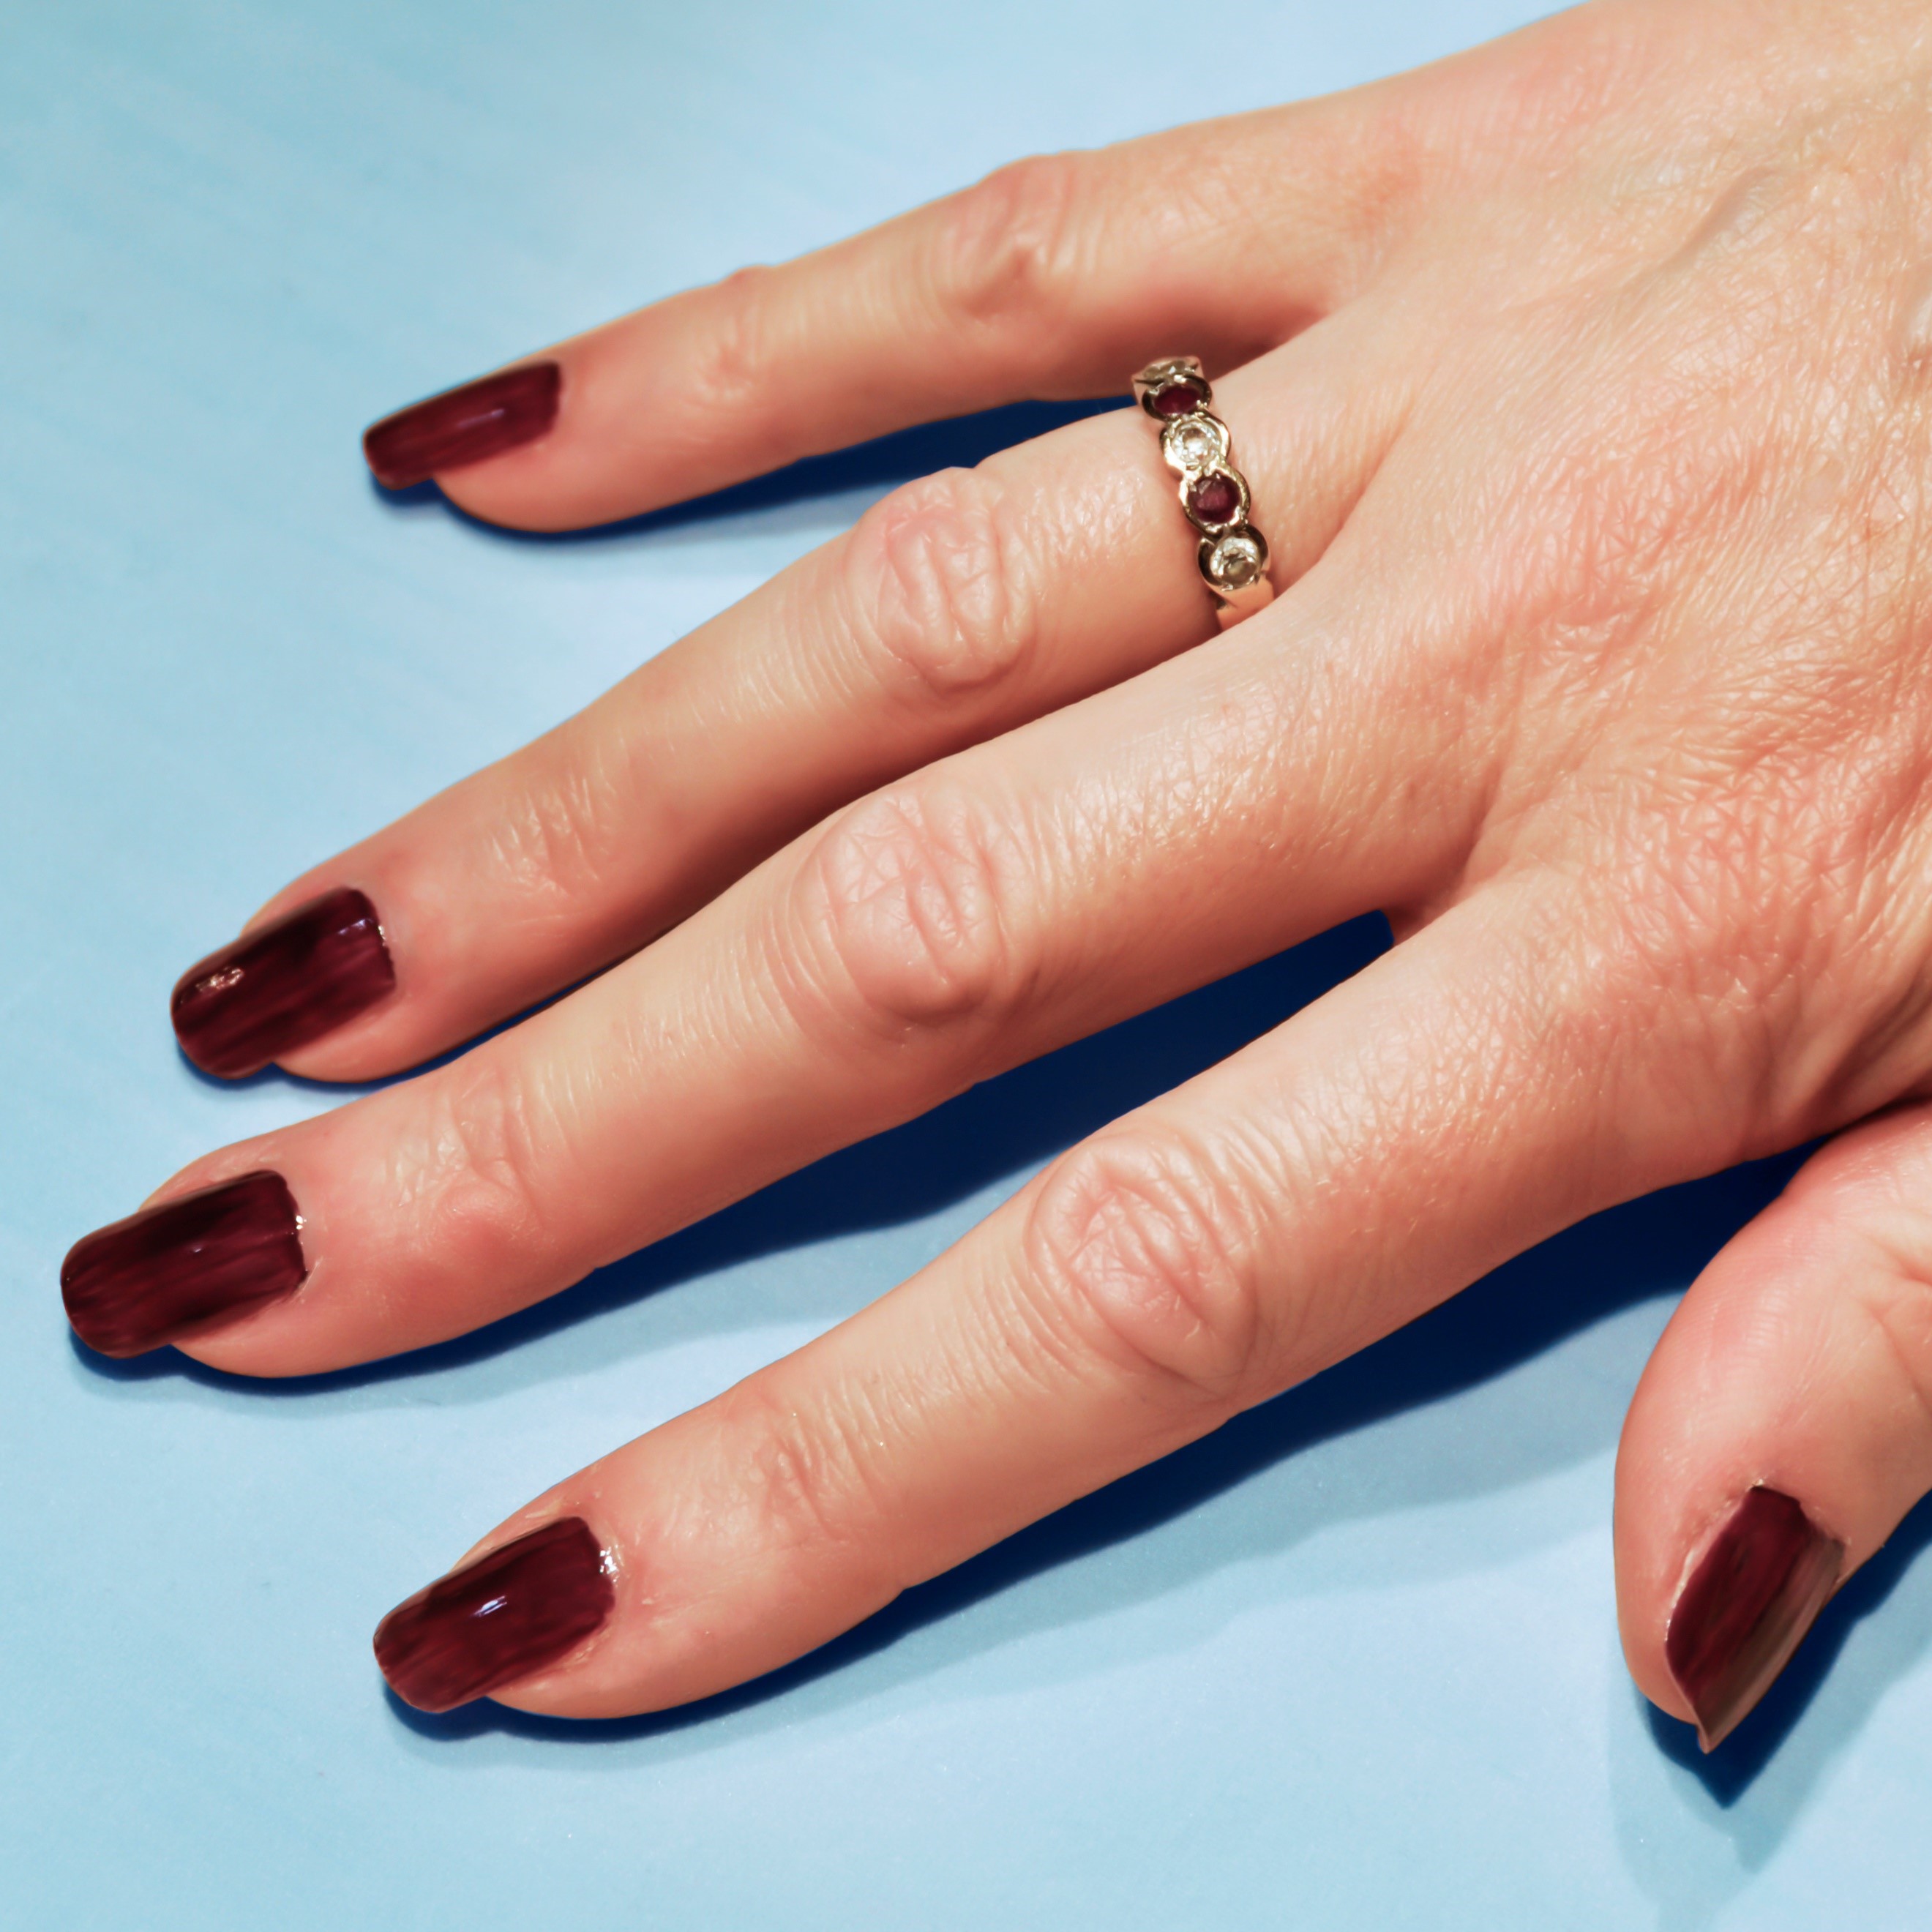
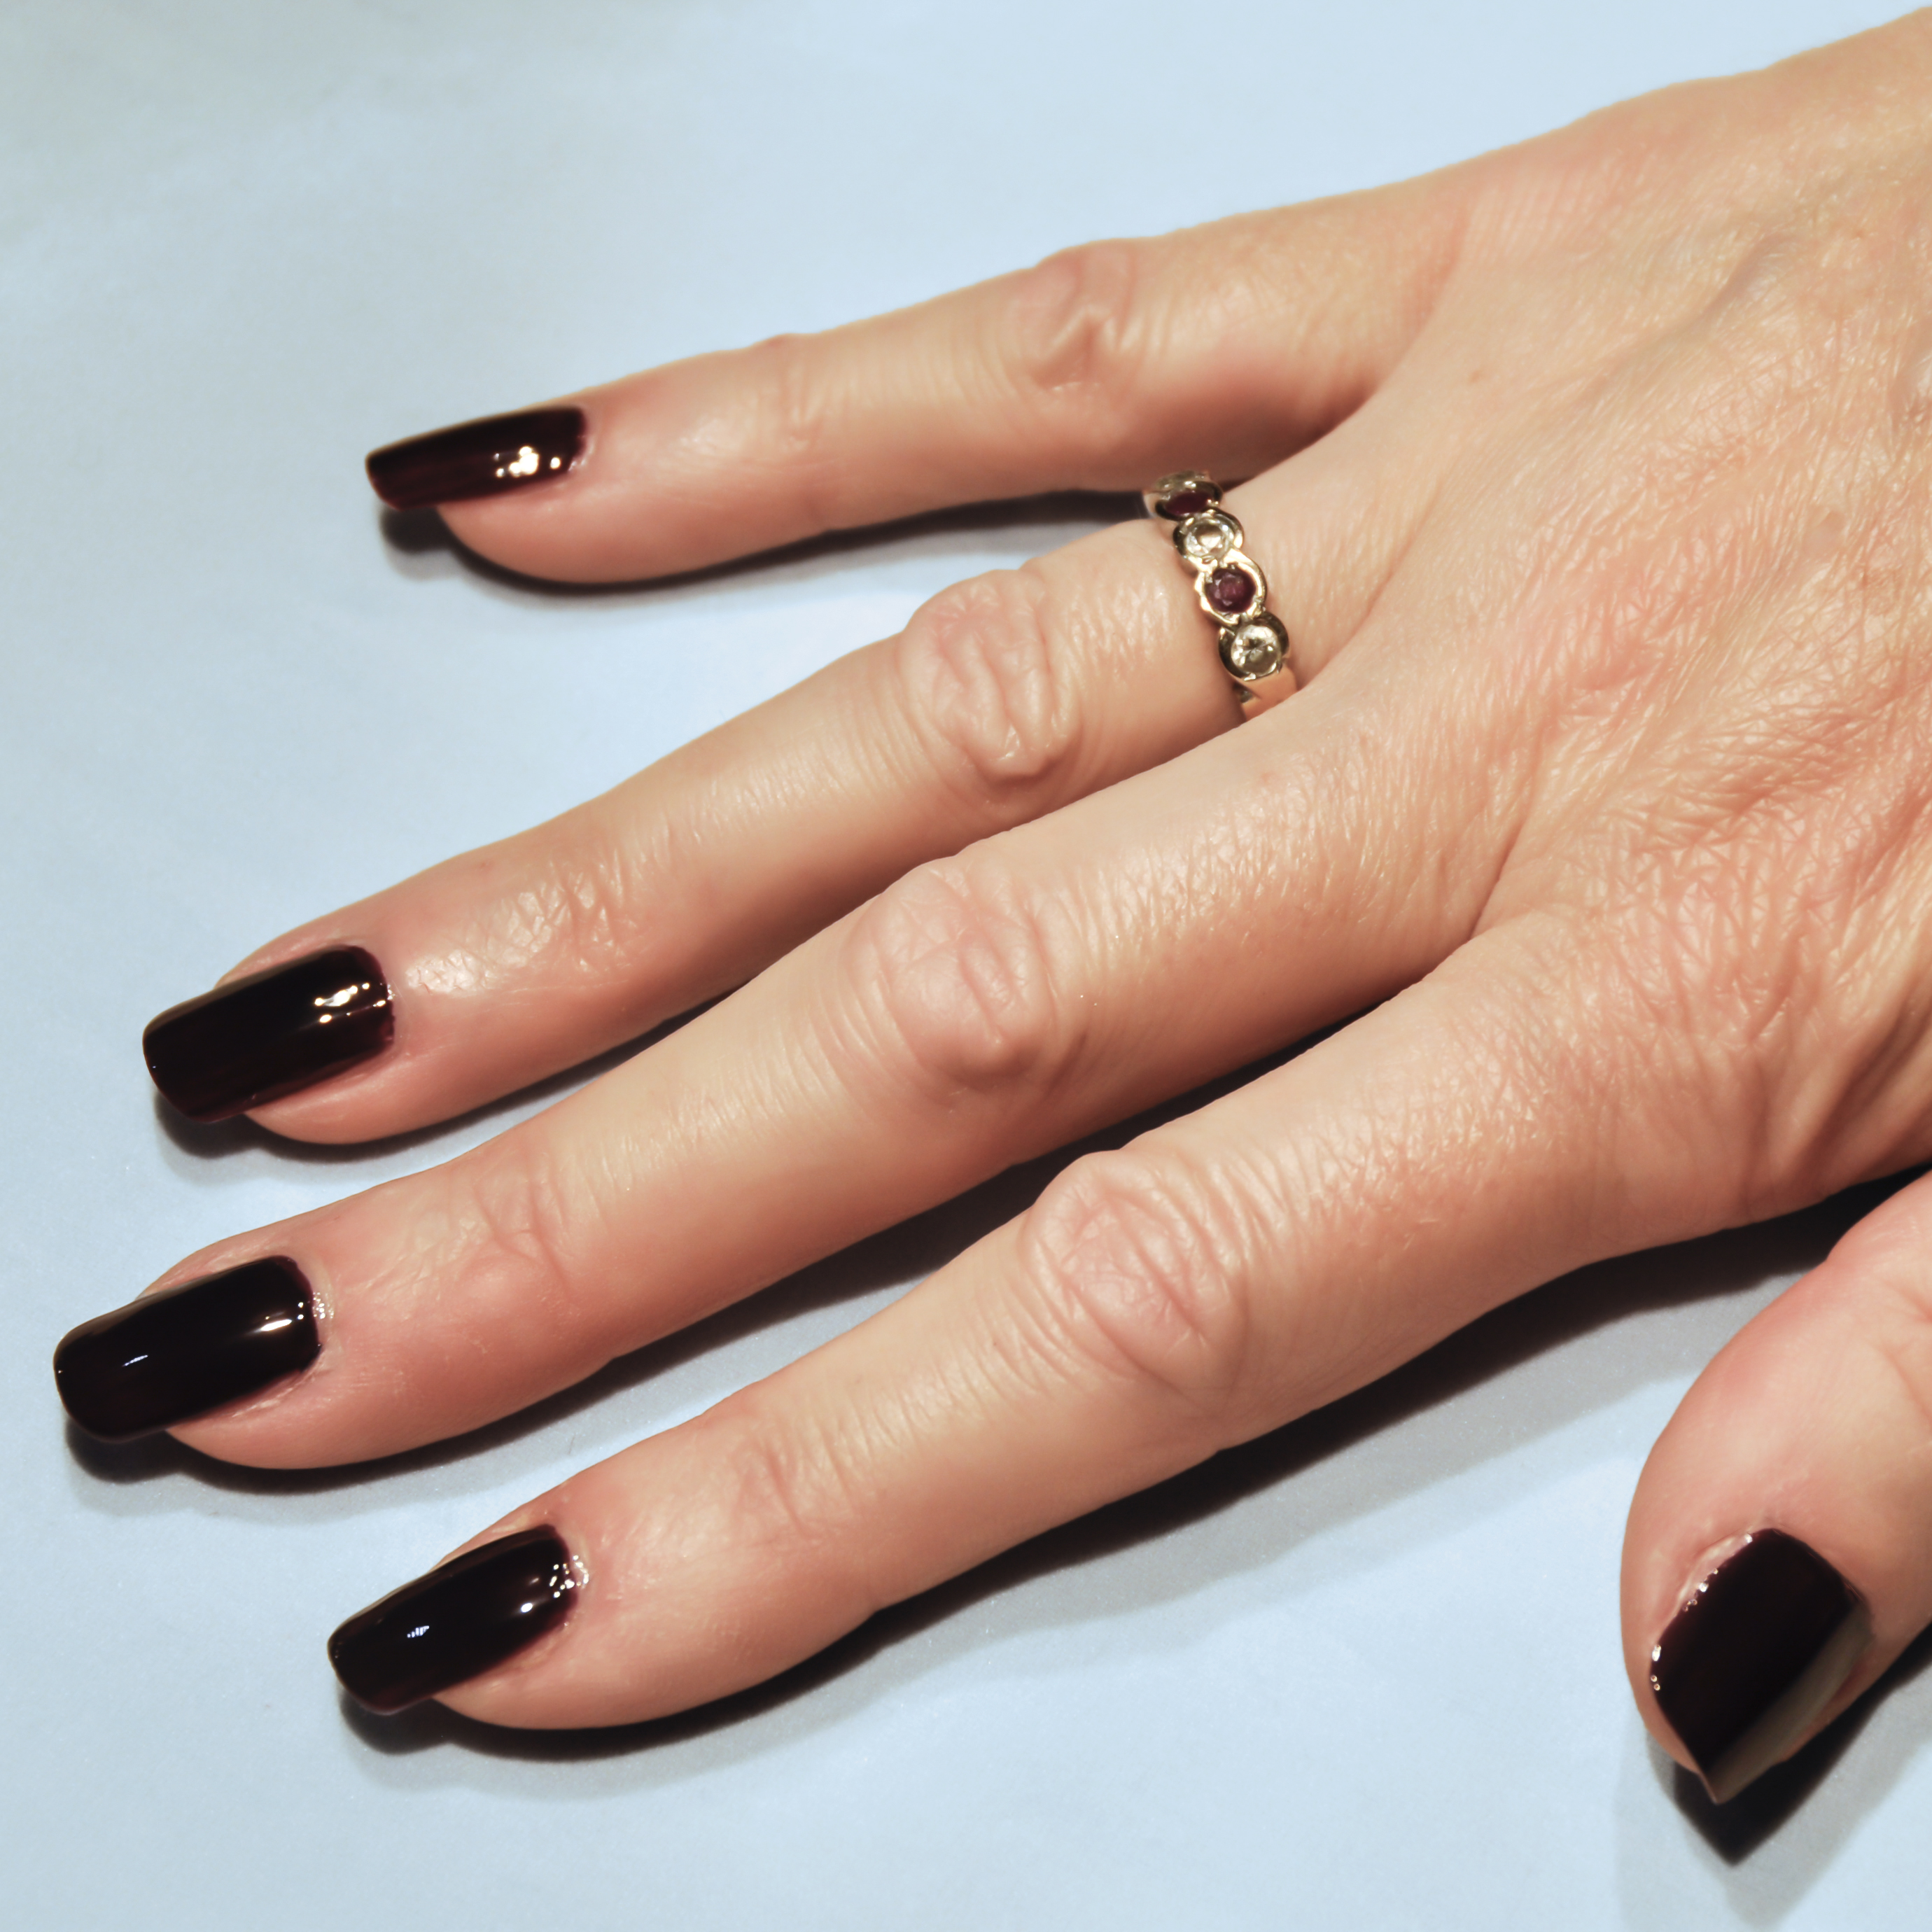
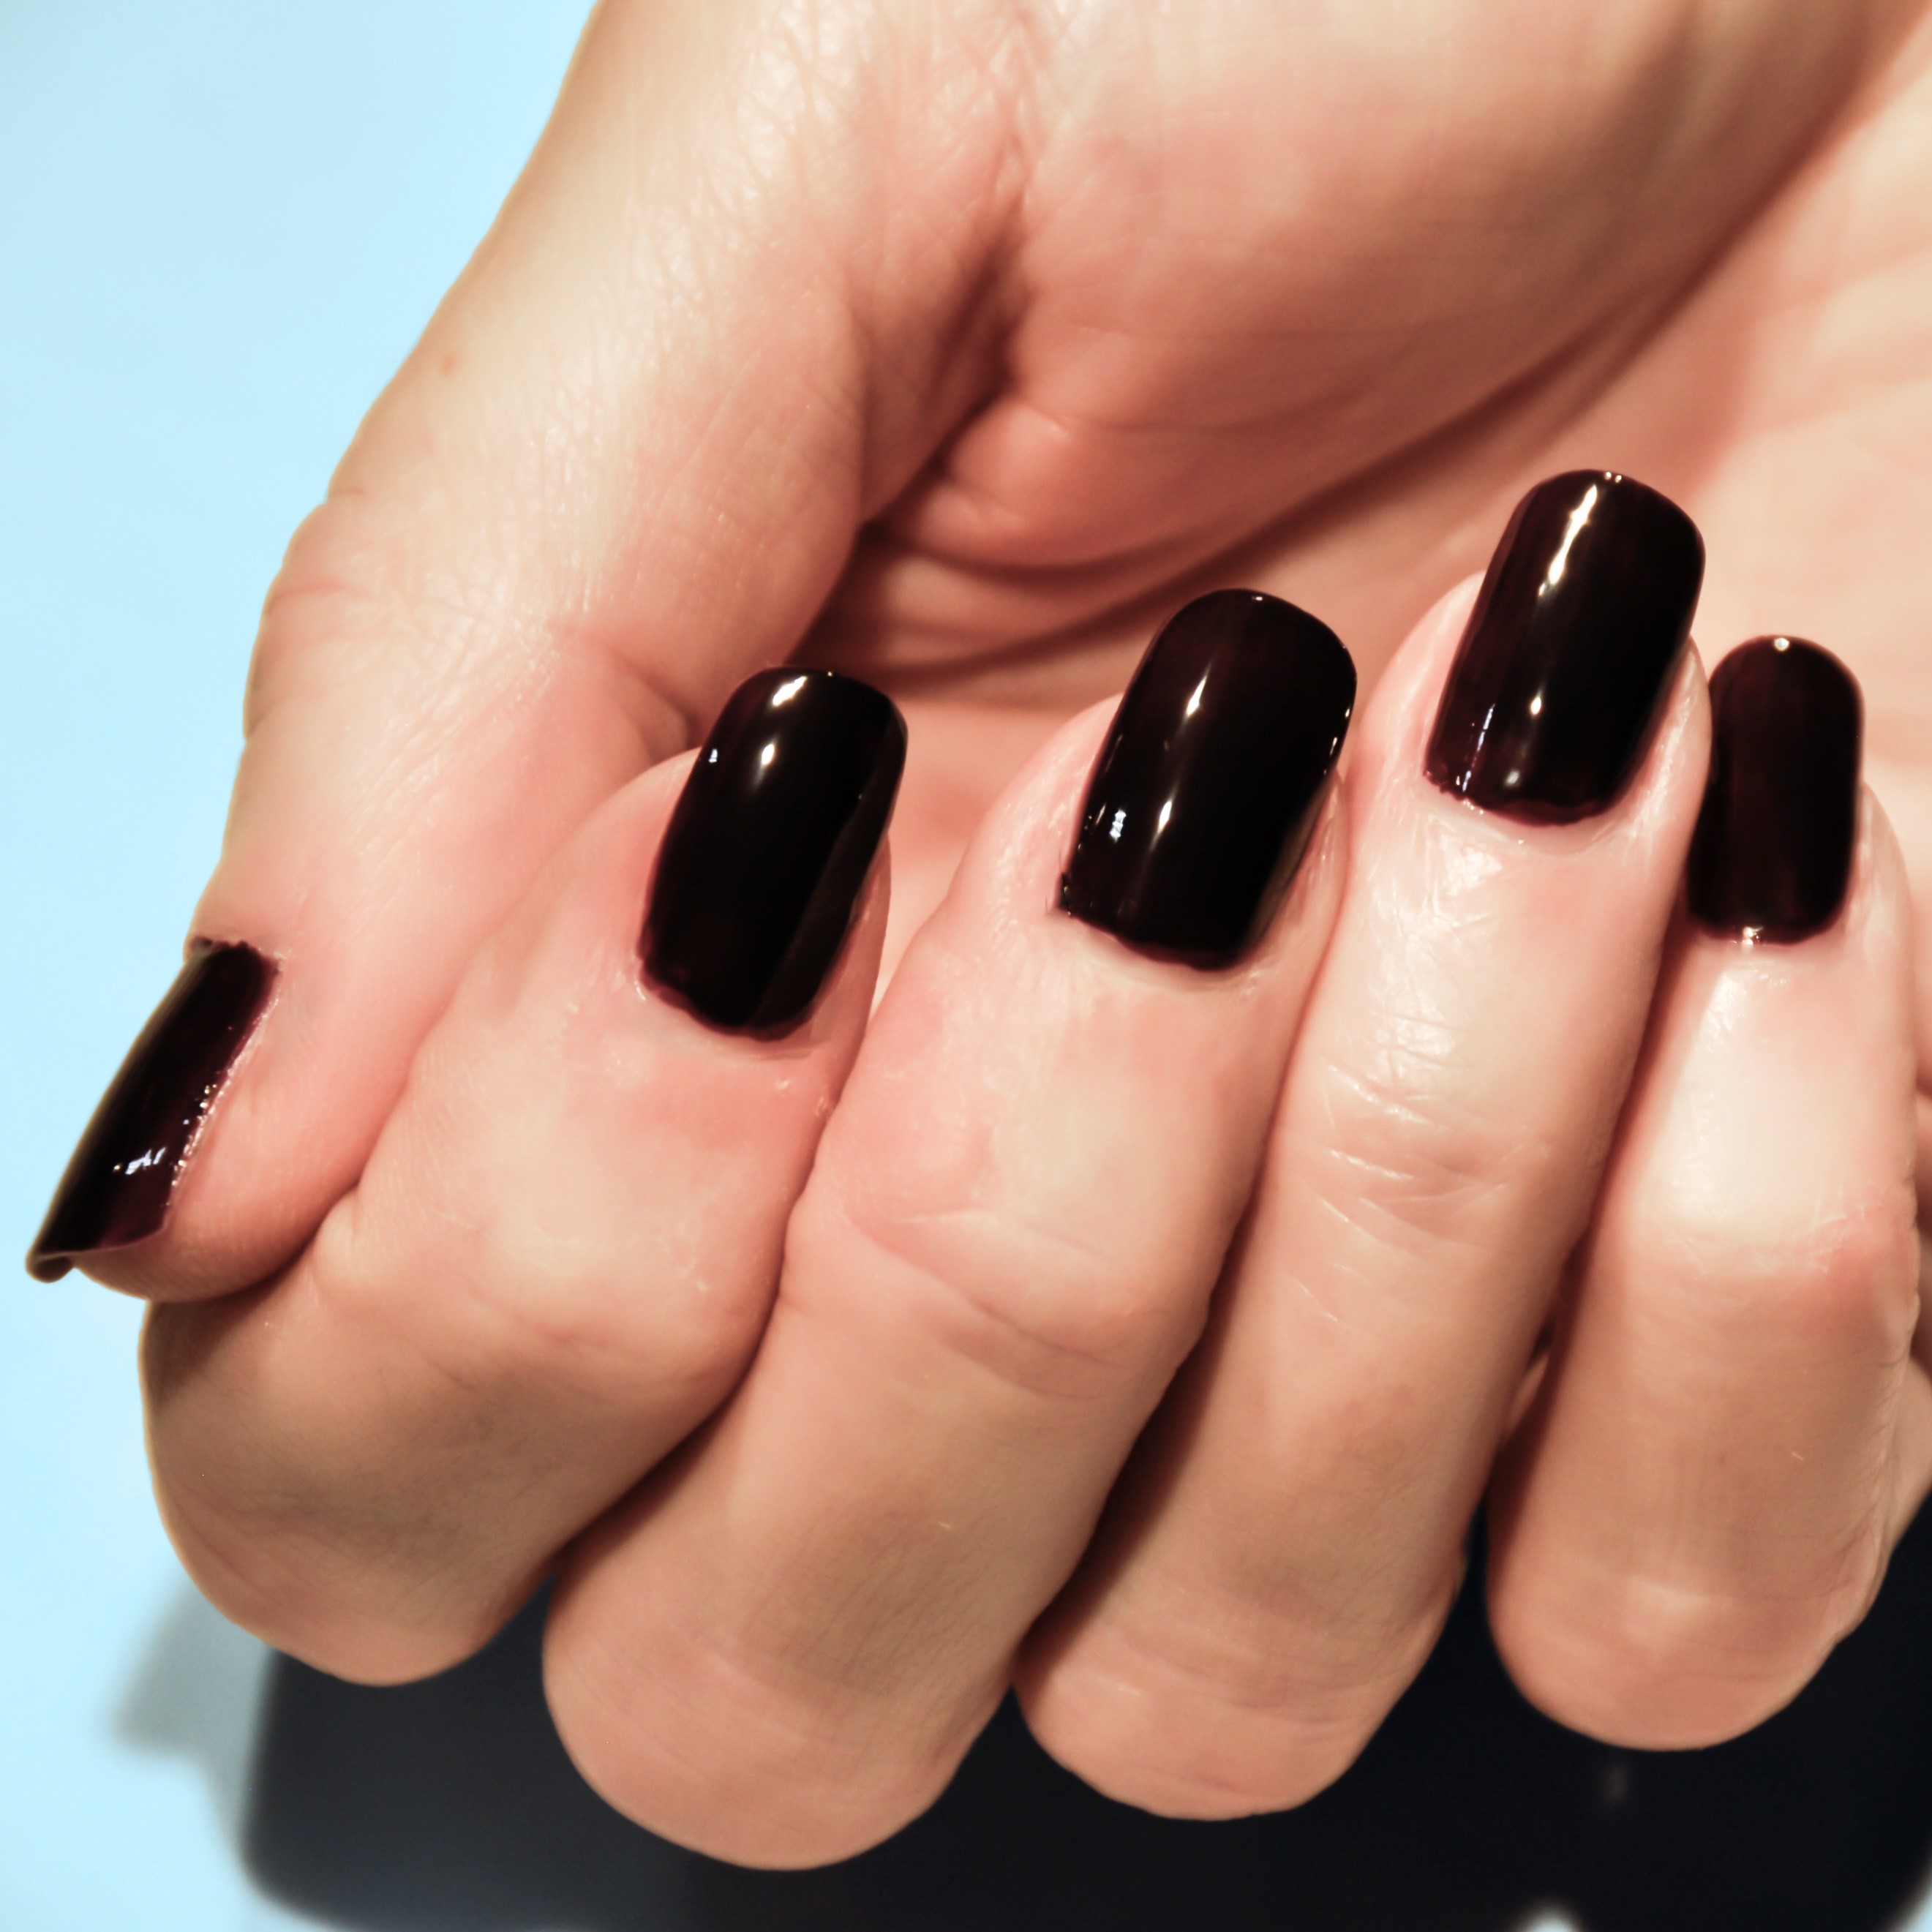
Ok, now consider your colours. For a simple effect, you will need two or three coats of your favourite shade. Consider that dark colours always make your nails look longer, but may be rather too dramatic if you have very pale skin.
If you wear strong coloured lipstick, you might want to opt for something that matches or tones.
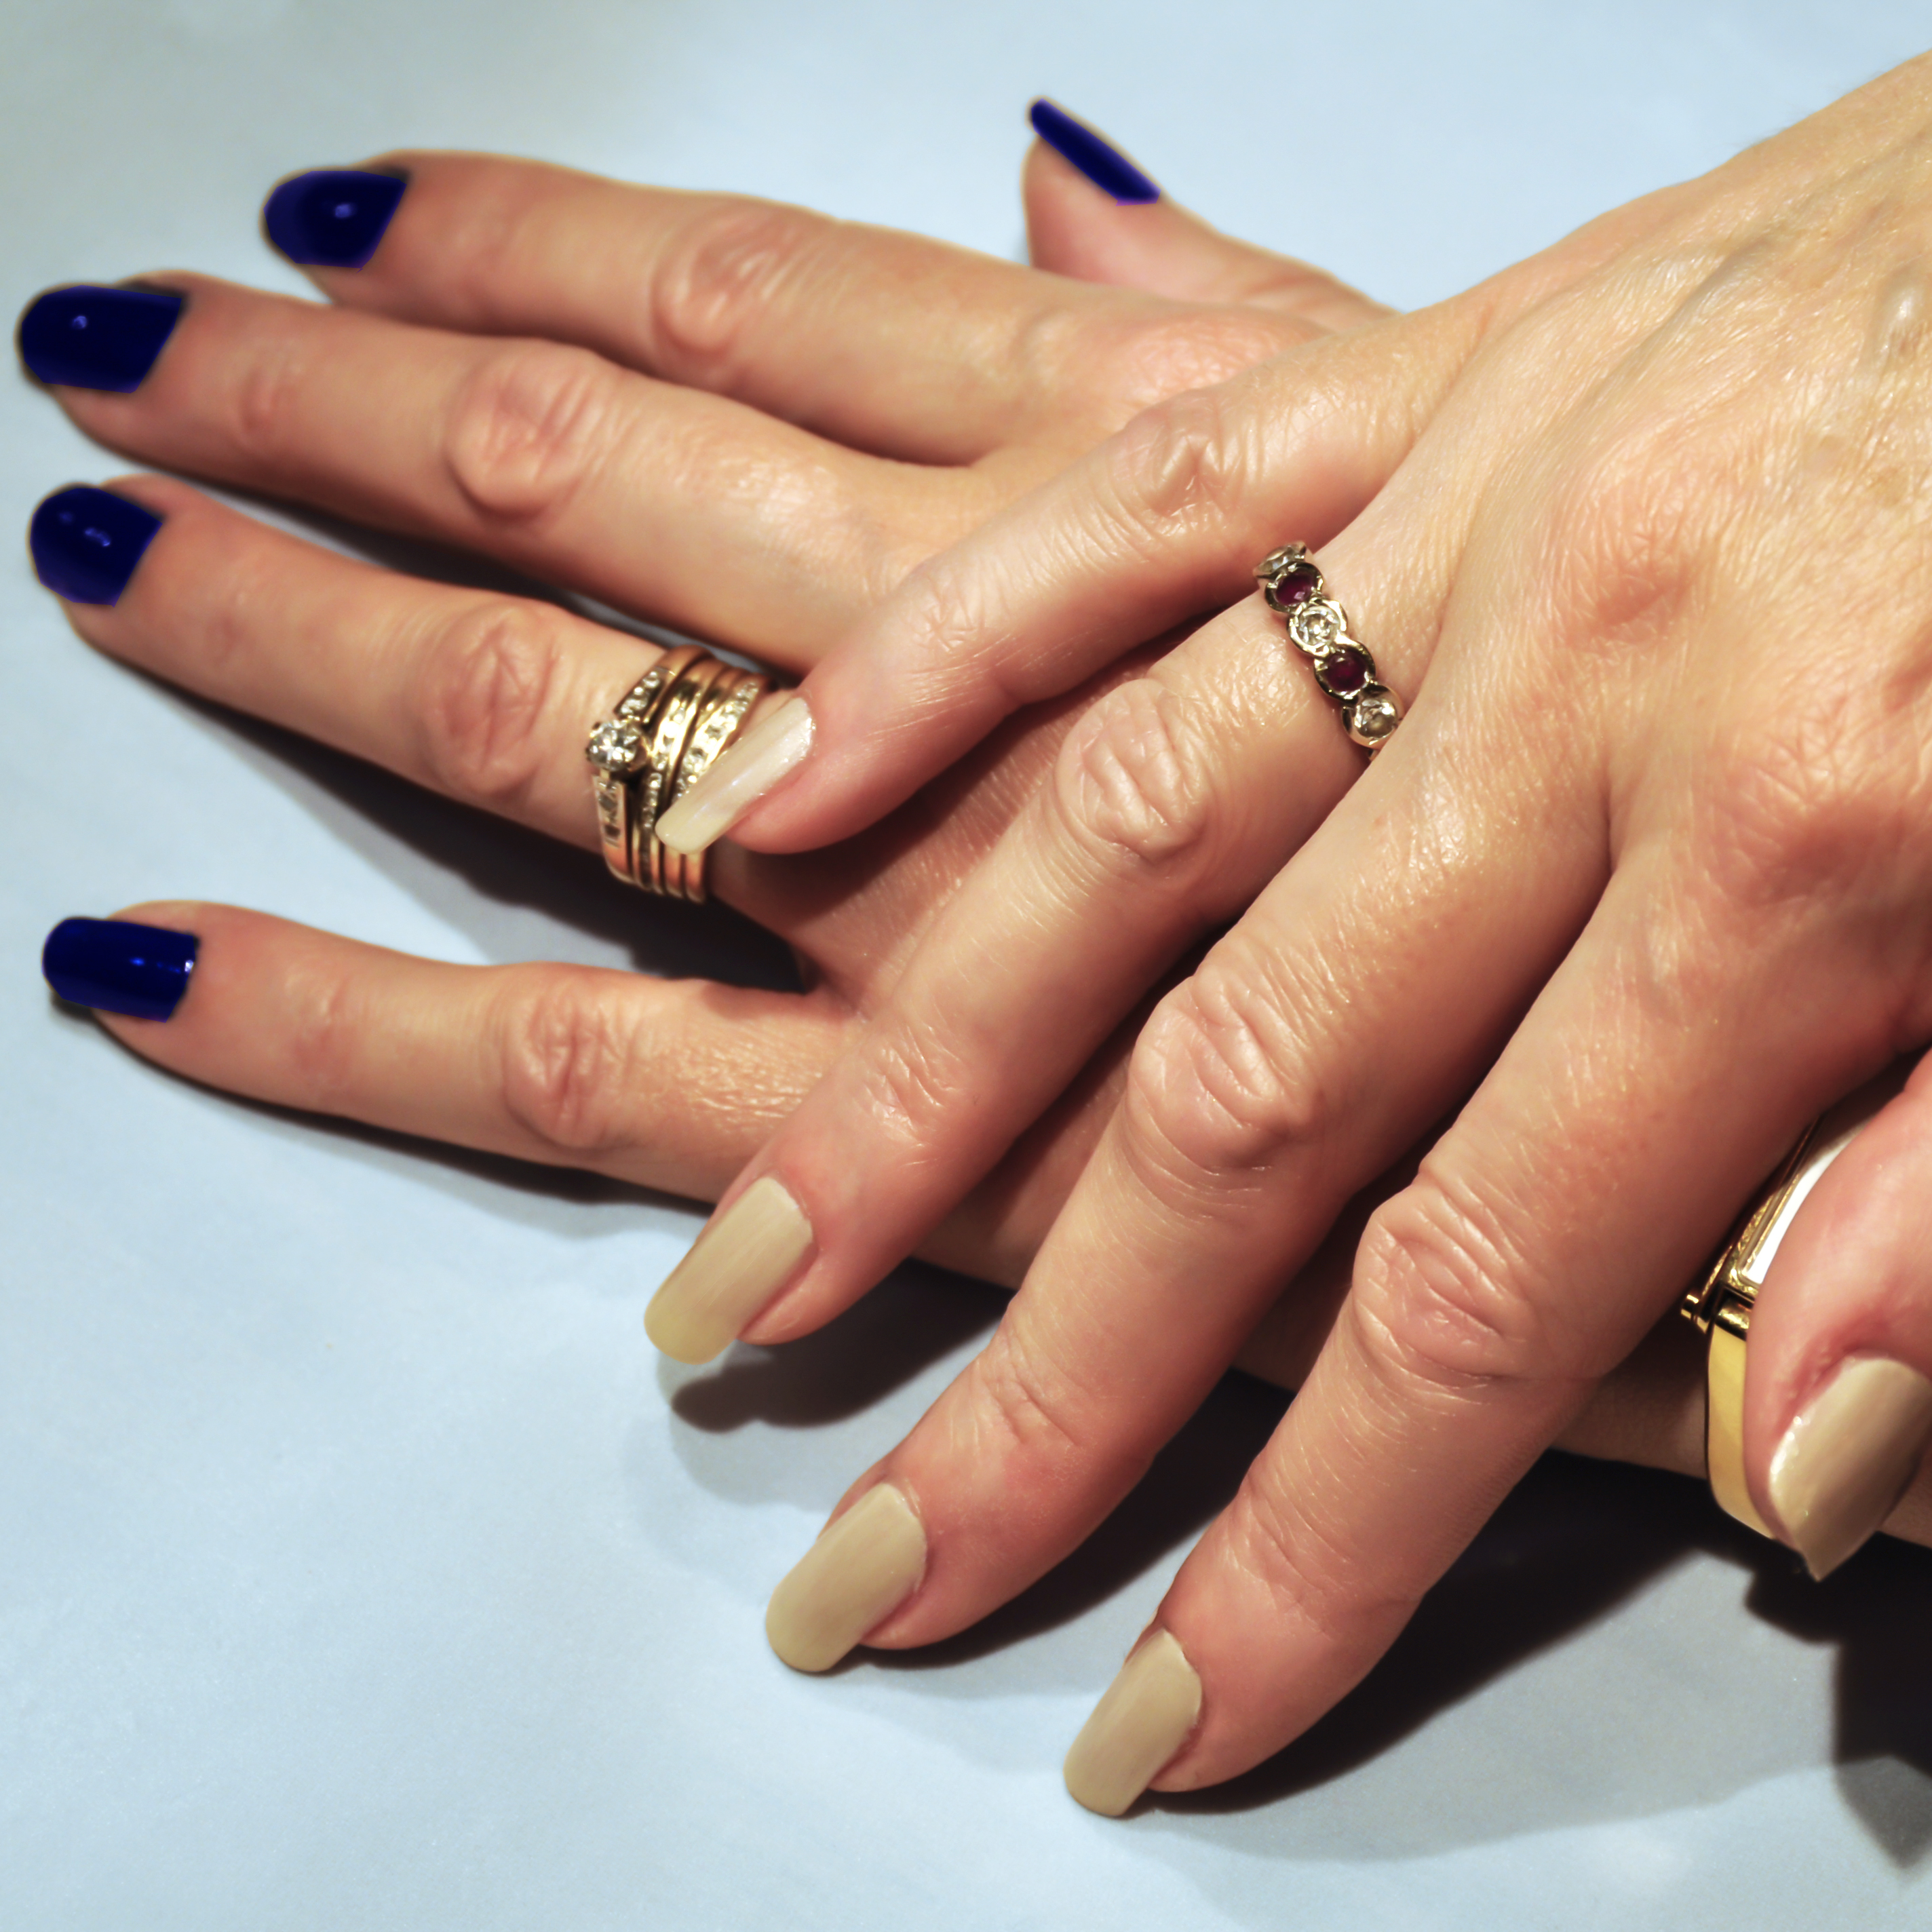
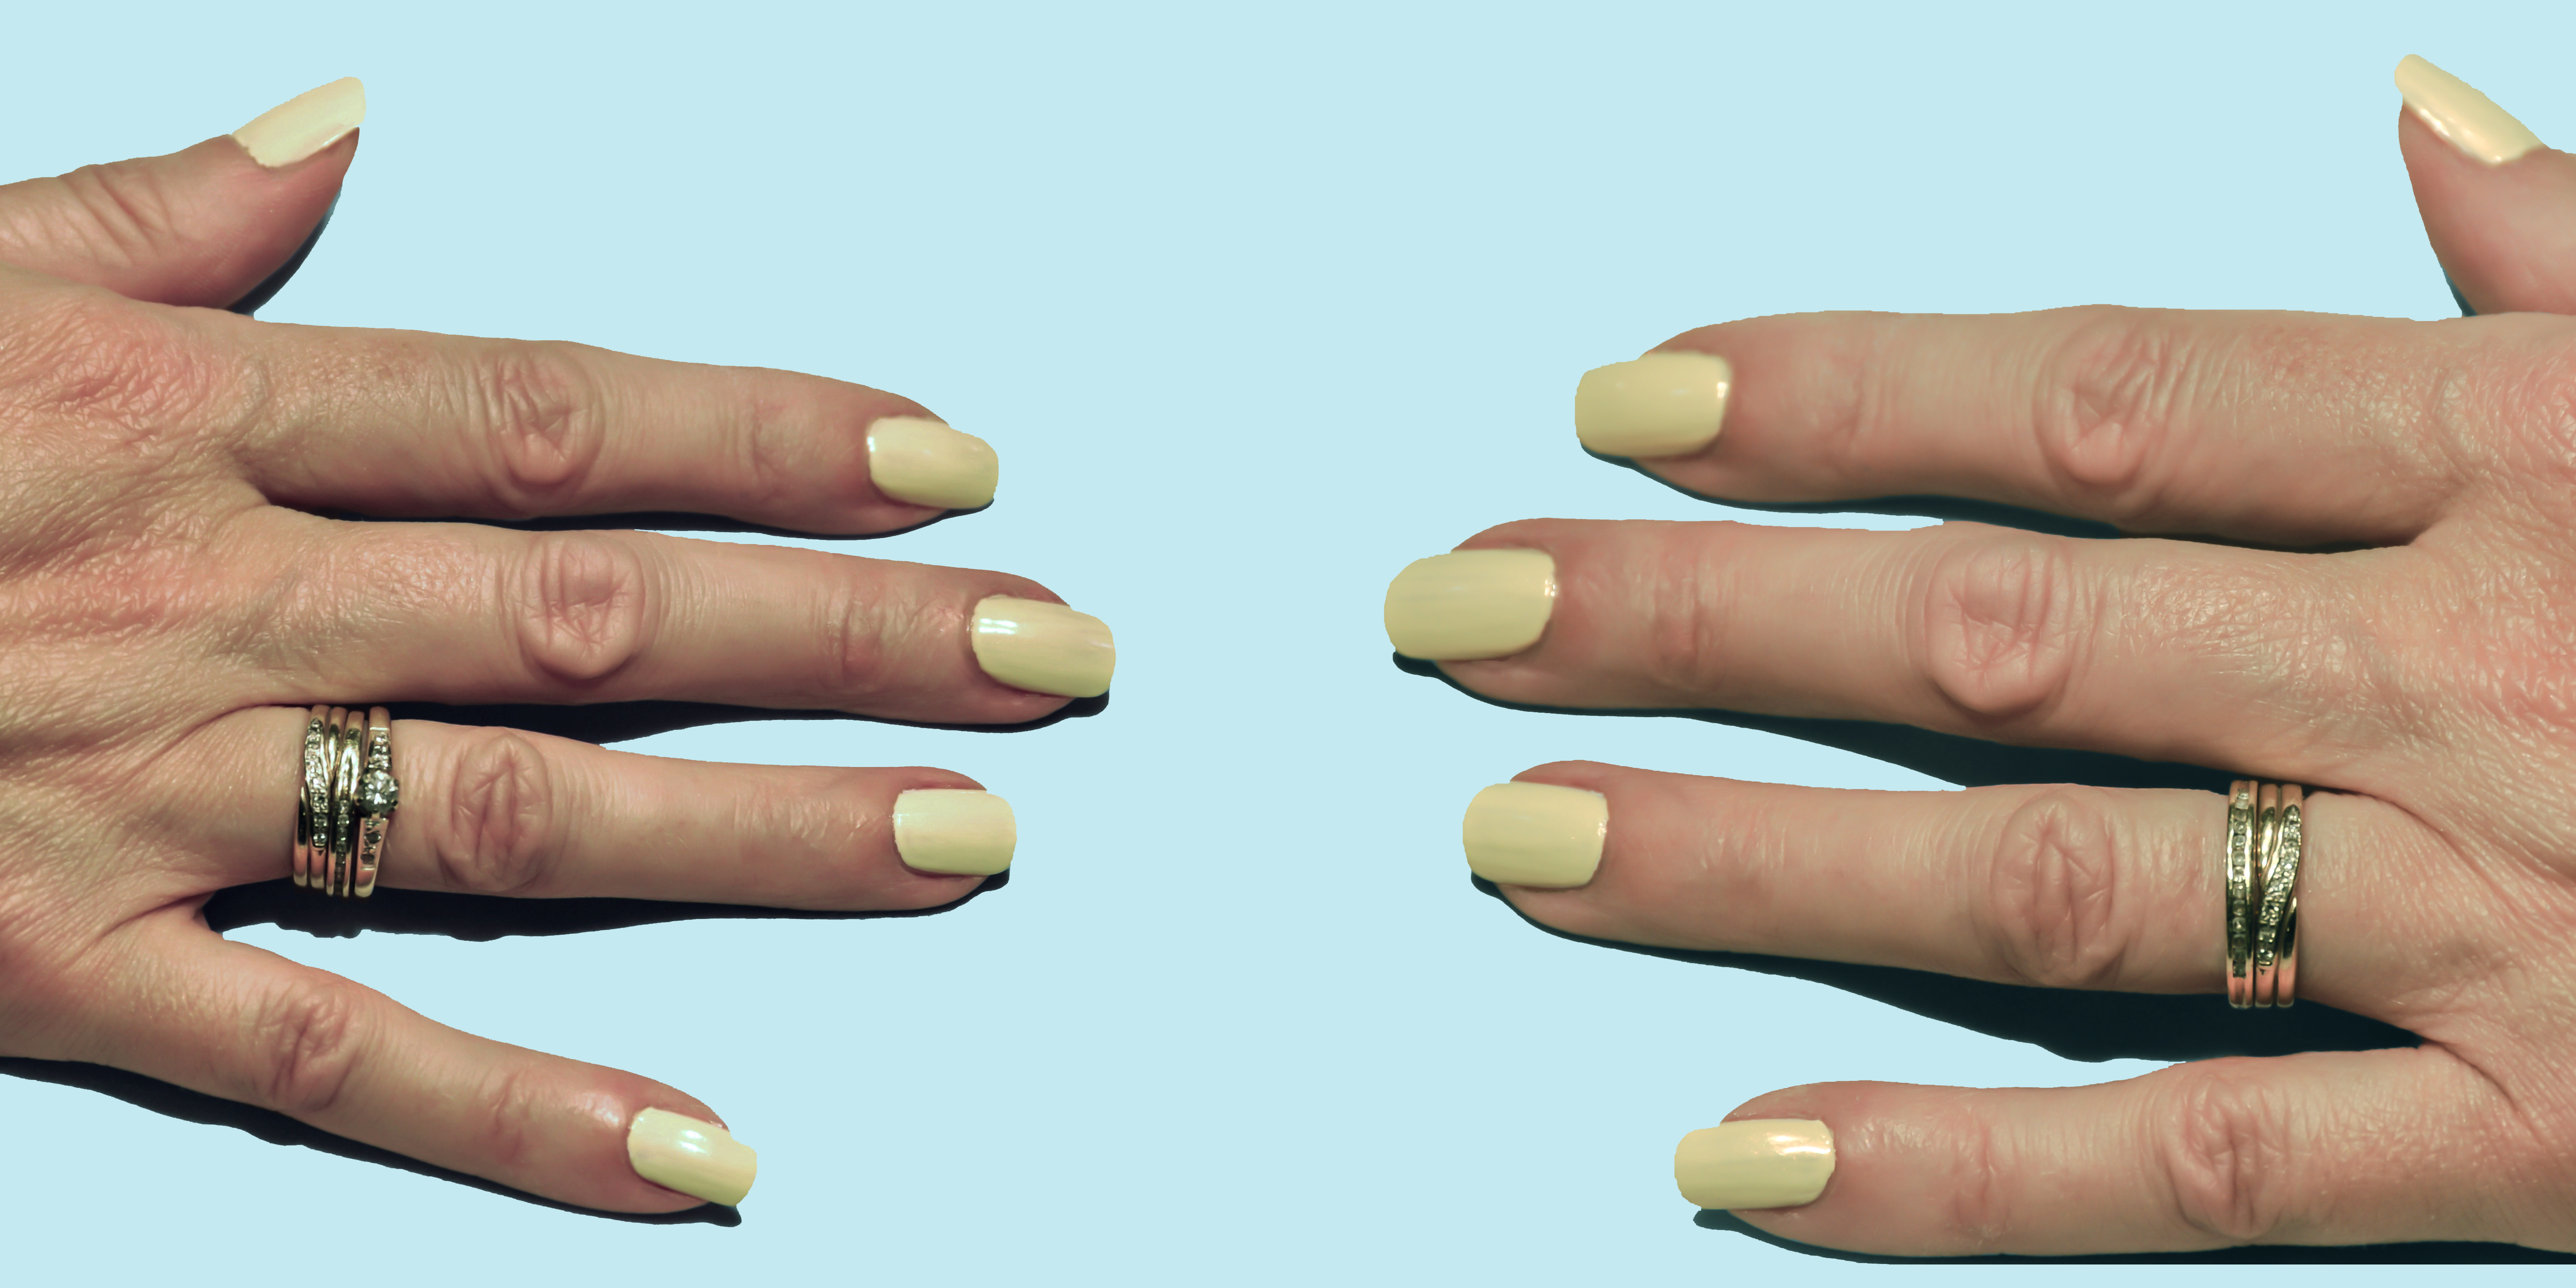
Some colours will look better and have more depth if you paint your first coat in white like an undercoat– this covers the natural skin colour underneath and creates an even canvas for the colour. Obviously paler and pearly shades are the most affected, but even darker shades can look more intense and true.
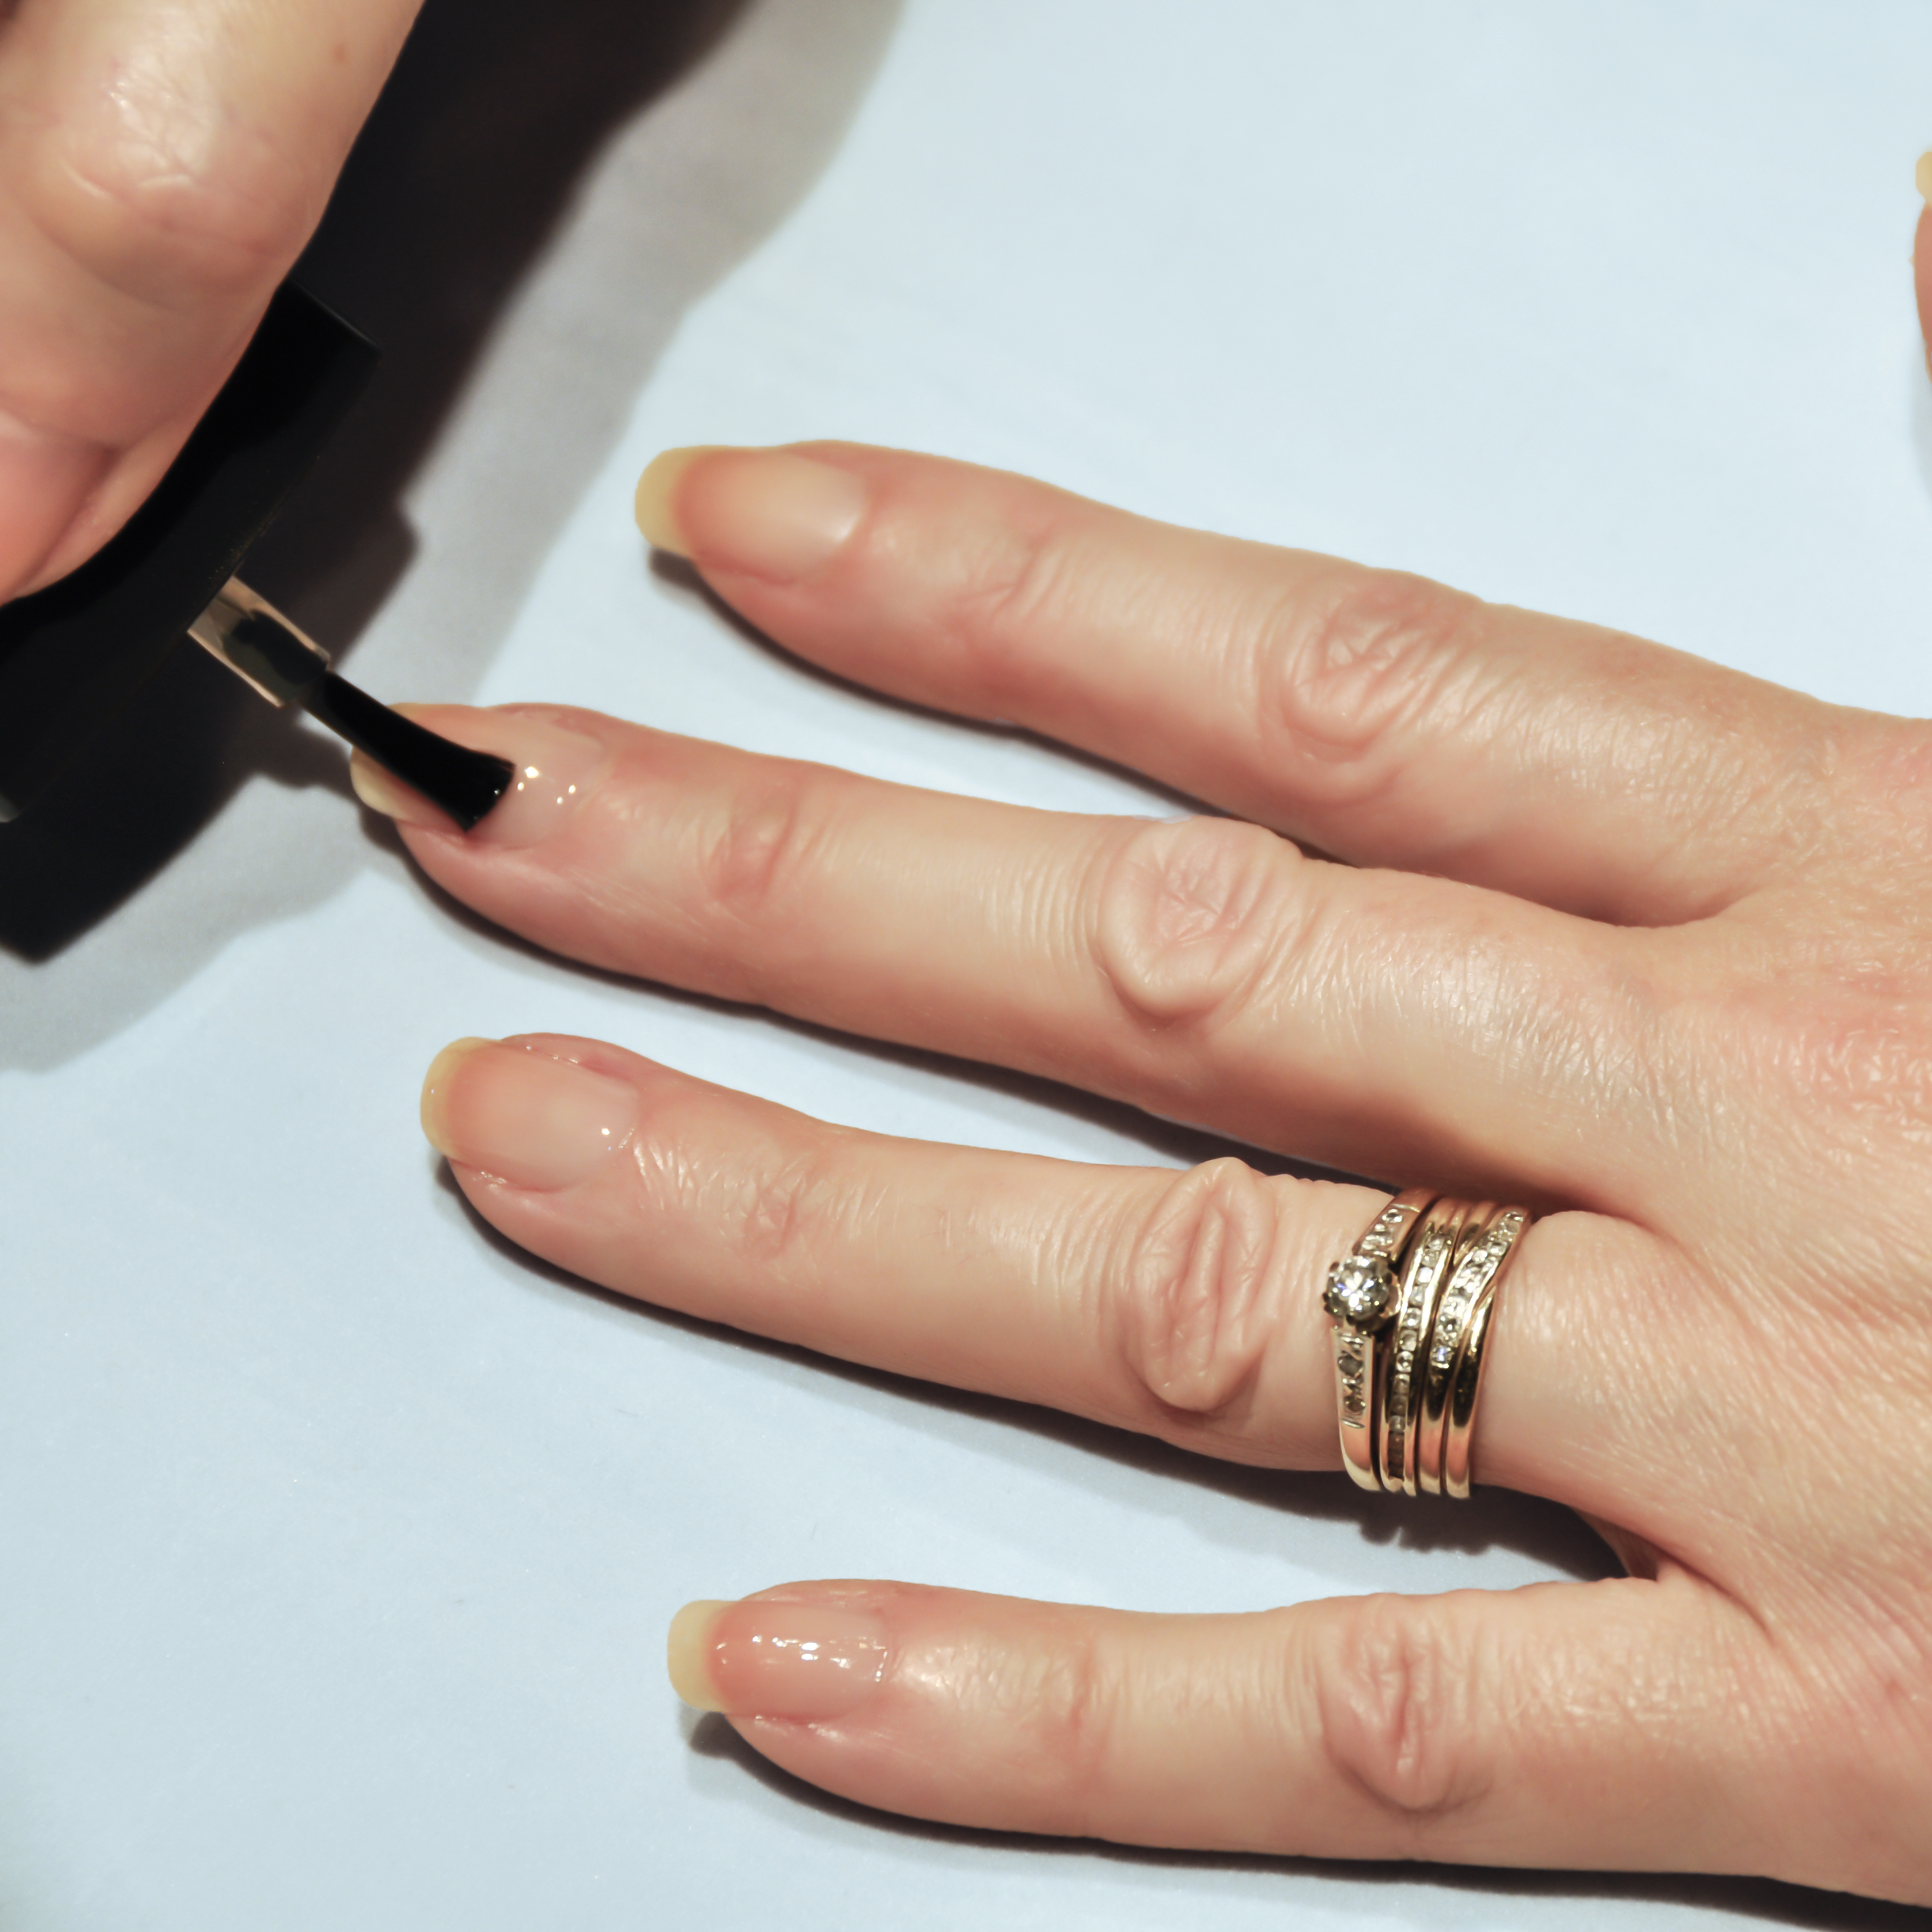
Apply the first coat, again pressing your fingers firmly to the table (adjust for the thumb afterwards!).
The colour may need mixing in the bottle – warm and mix by rolling in your hands but don’t shake as this will create bubbles and spoil the coats. The best approach is to load the brush, then wipe off the excess on the inside rim of the bottle. Blob the remaining colour onto the nail just below the cuticle – this will act as a reservoir. Colour is applied in three swipes down the length of the nail: Middle, then one side, then the other side, using the reservoir each time. Try to avoid the edges – a clean straight line looks better than a wobbly one, and the gap won’t show. For the most professional effect, apply all coats very thinly, even if it means three coats are needed rather than two. Thin coats will dry more quickly and all through whereas thicker coats may only surface dry, and then the slightest knock and the colour smudges... (minor smudges are most effectively repaired with the touch of the tip of your tongue).
 For short wide nails, you can accentuate the gaps at the sides and make
the nails look longer and more elegant. If you do miss, use a cotton wool bud
soaked with remover to carefully clean up once the layer is dry (a pointed one
is easiest!). Allow the coat to dry completely which can take a few minutes,
and then apply extra coats in the same way until you
are satisfied with the
effect.
For short wide nails, you can accentuate the gaps at the sides and make
the nails look longer and more elegant. If you do miss, use a cotton wool bud
soaked with remover to carefully clean up once the layer is dry (a pointed one
is easiest!). Allow the coat to dry completely which can take a few minutes,
and then apply extra coats in the same way until you
are satisfied with the
effect.
Protect!
 When you are happy that your colour application is finished and fully dry, apply a
coat of Kind
Caring Nails Top Coat or
Attitude Nails Clear in the same way as the colour, but make sure you put an
extra swipe around the tips of your nails to help protect them from chipping
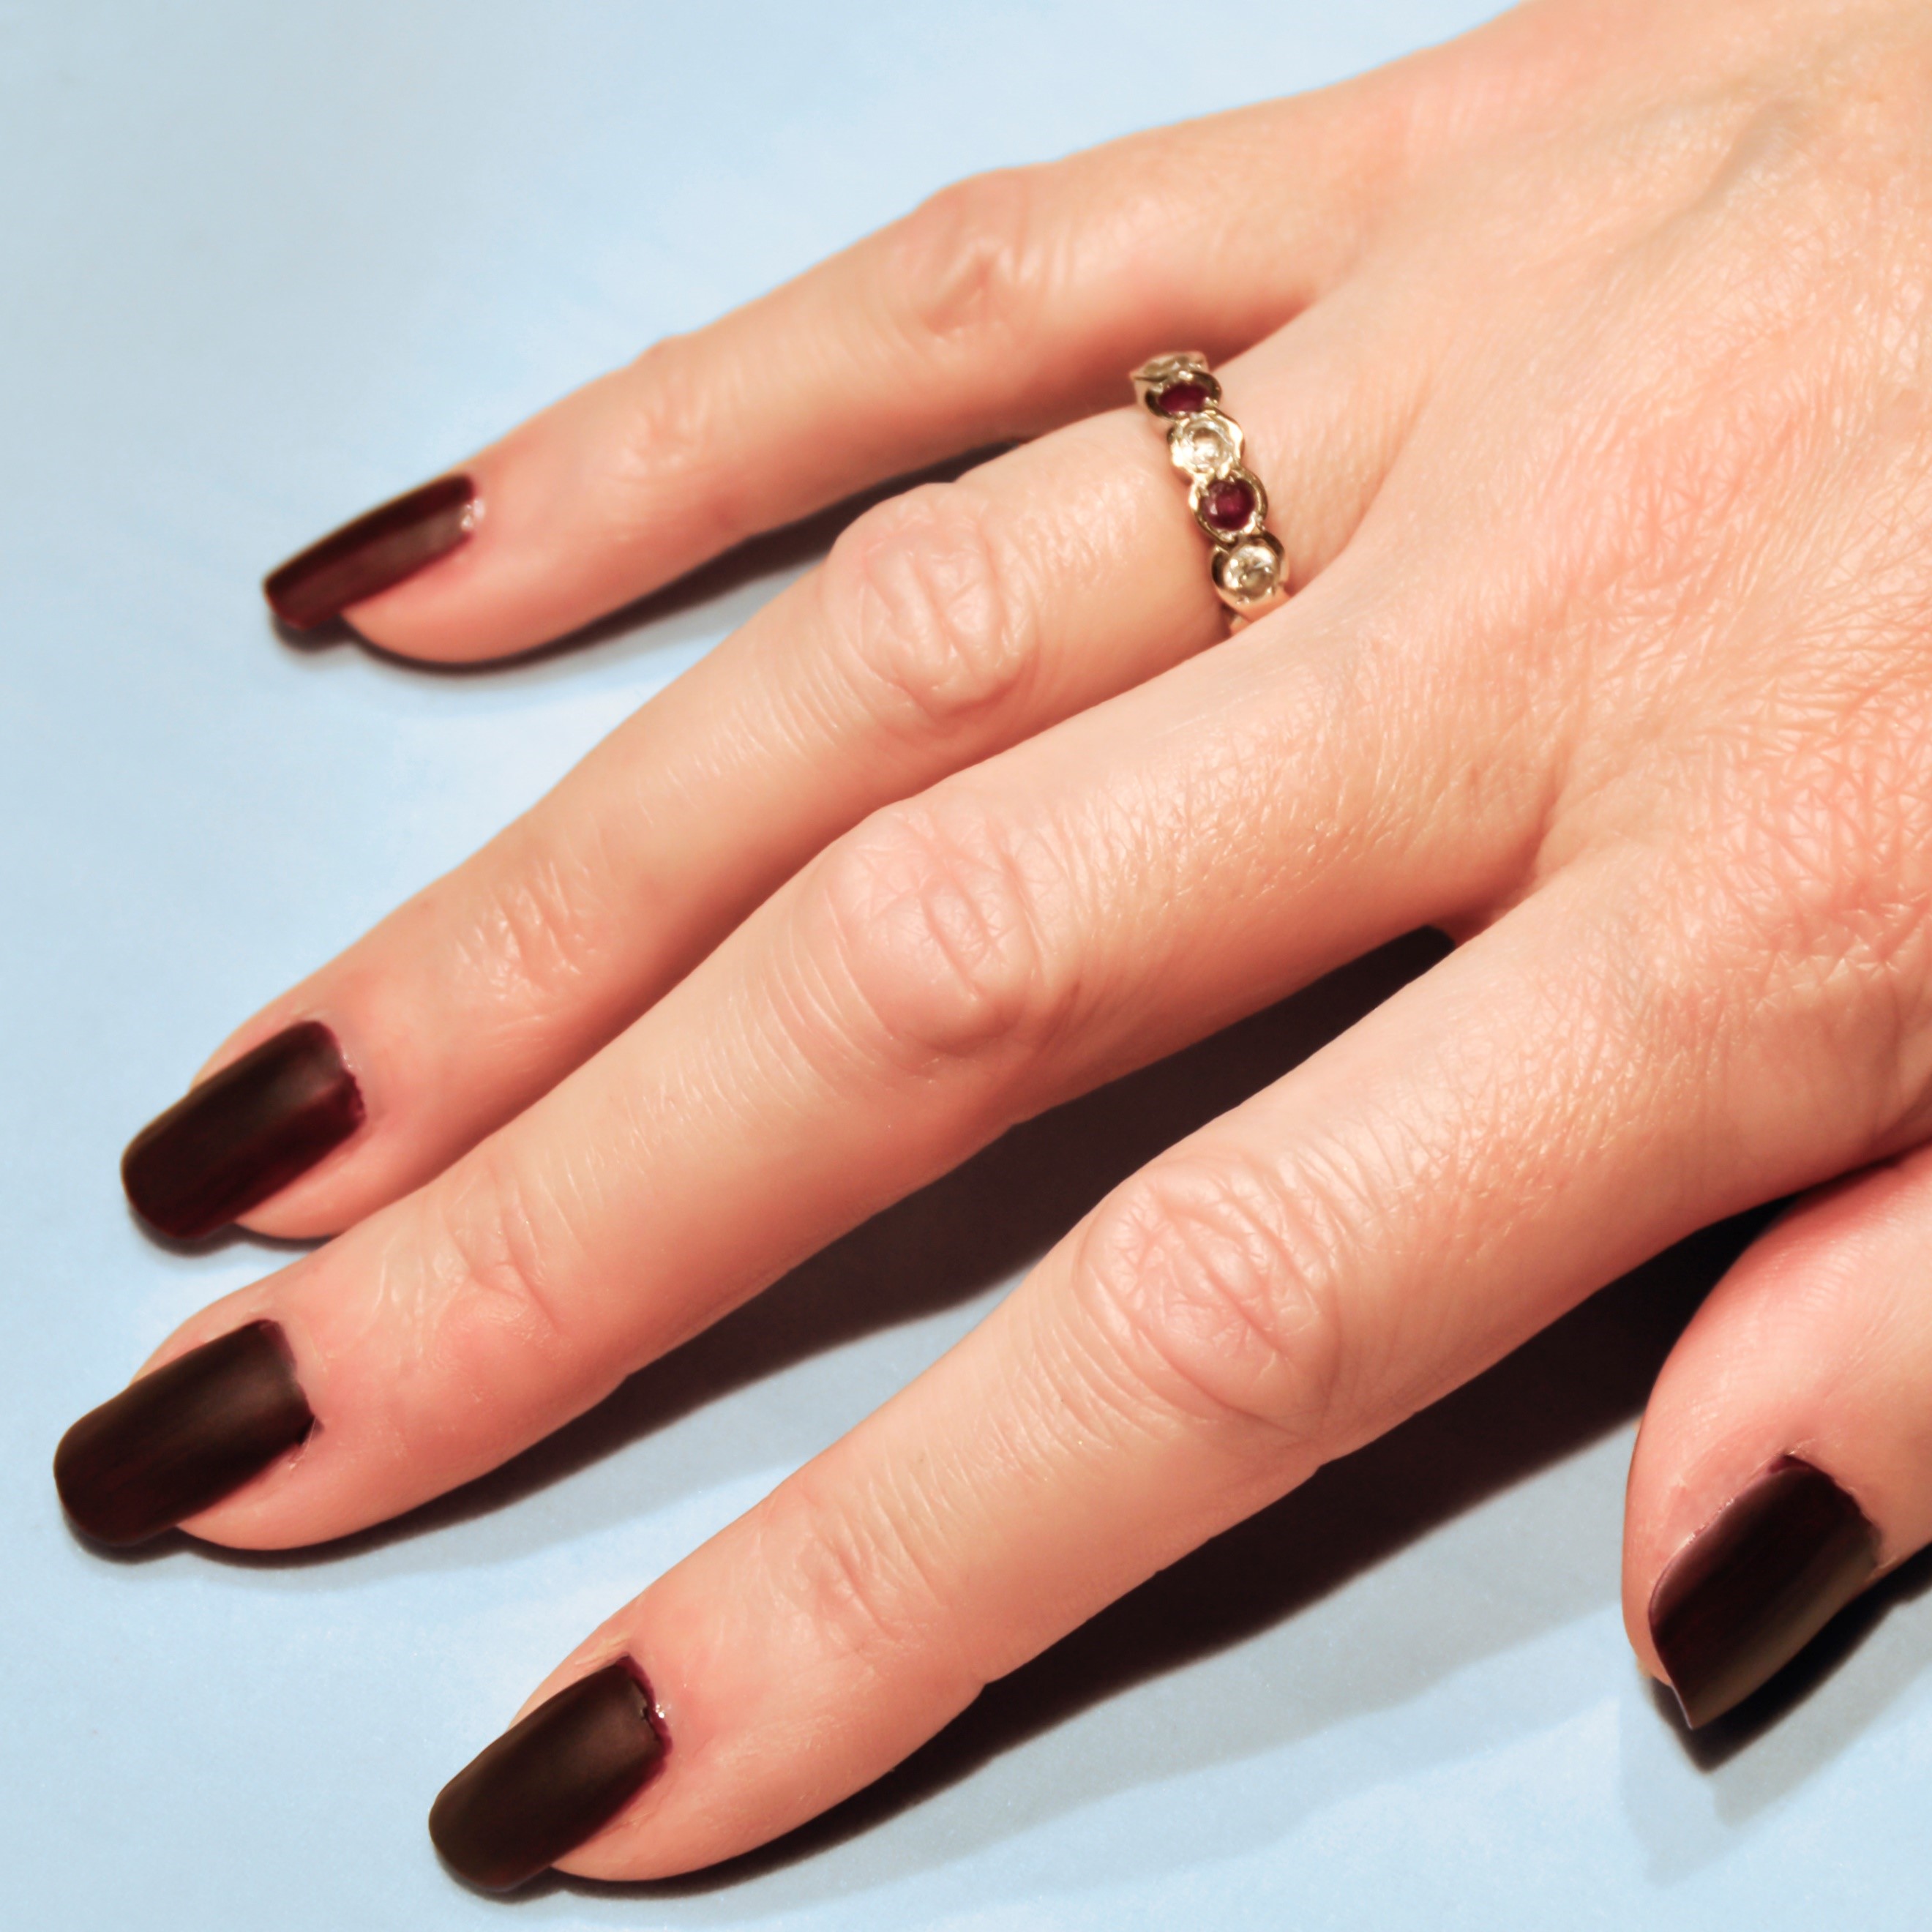
and add strength to longer nails. For a contemporary sophisticated finish use bwc Kind
Caring Nails Matte Top Coat –
this gives an amazing flat matte finish and is very hard wearing!
When you are happy that your colour application is finished and fully dry, apply a
coat of Kind
Caring Nails Top Coat or
Attitude Nails Clear in the same way as the colour, but make sure you put an
extra swipe around the tips of your nails to help protect them from chipping
and add strength to longer nails. For a contemporary sophisticated finish use bwc Kind
Caring Nails Matte Top Coat –
this gives an amazing flat matte finish and is very hard wearing!
Practise!
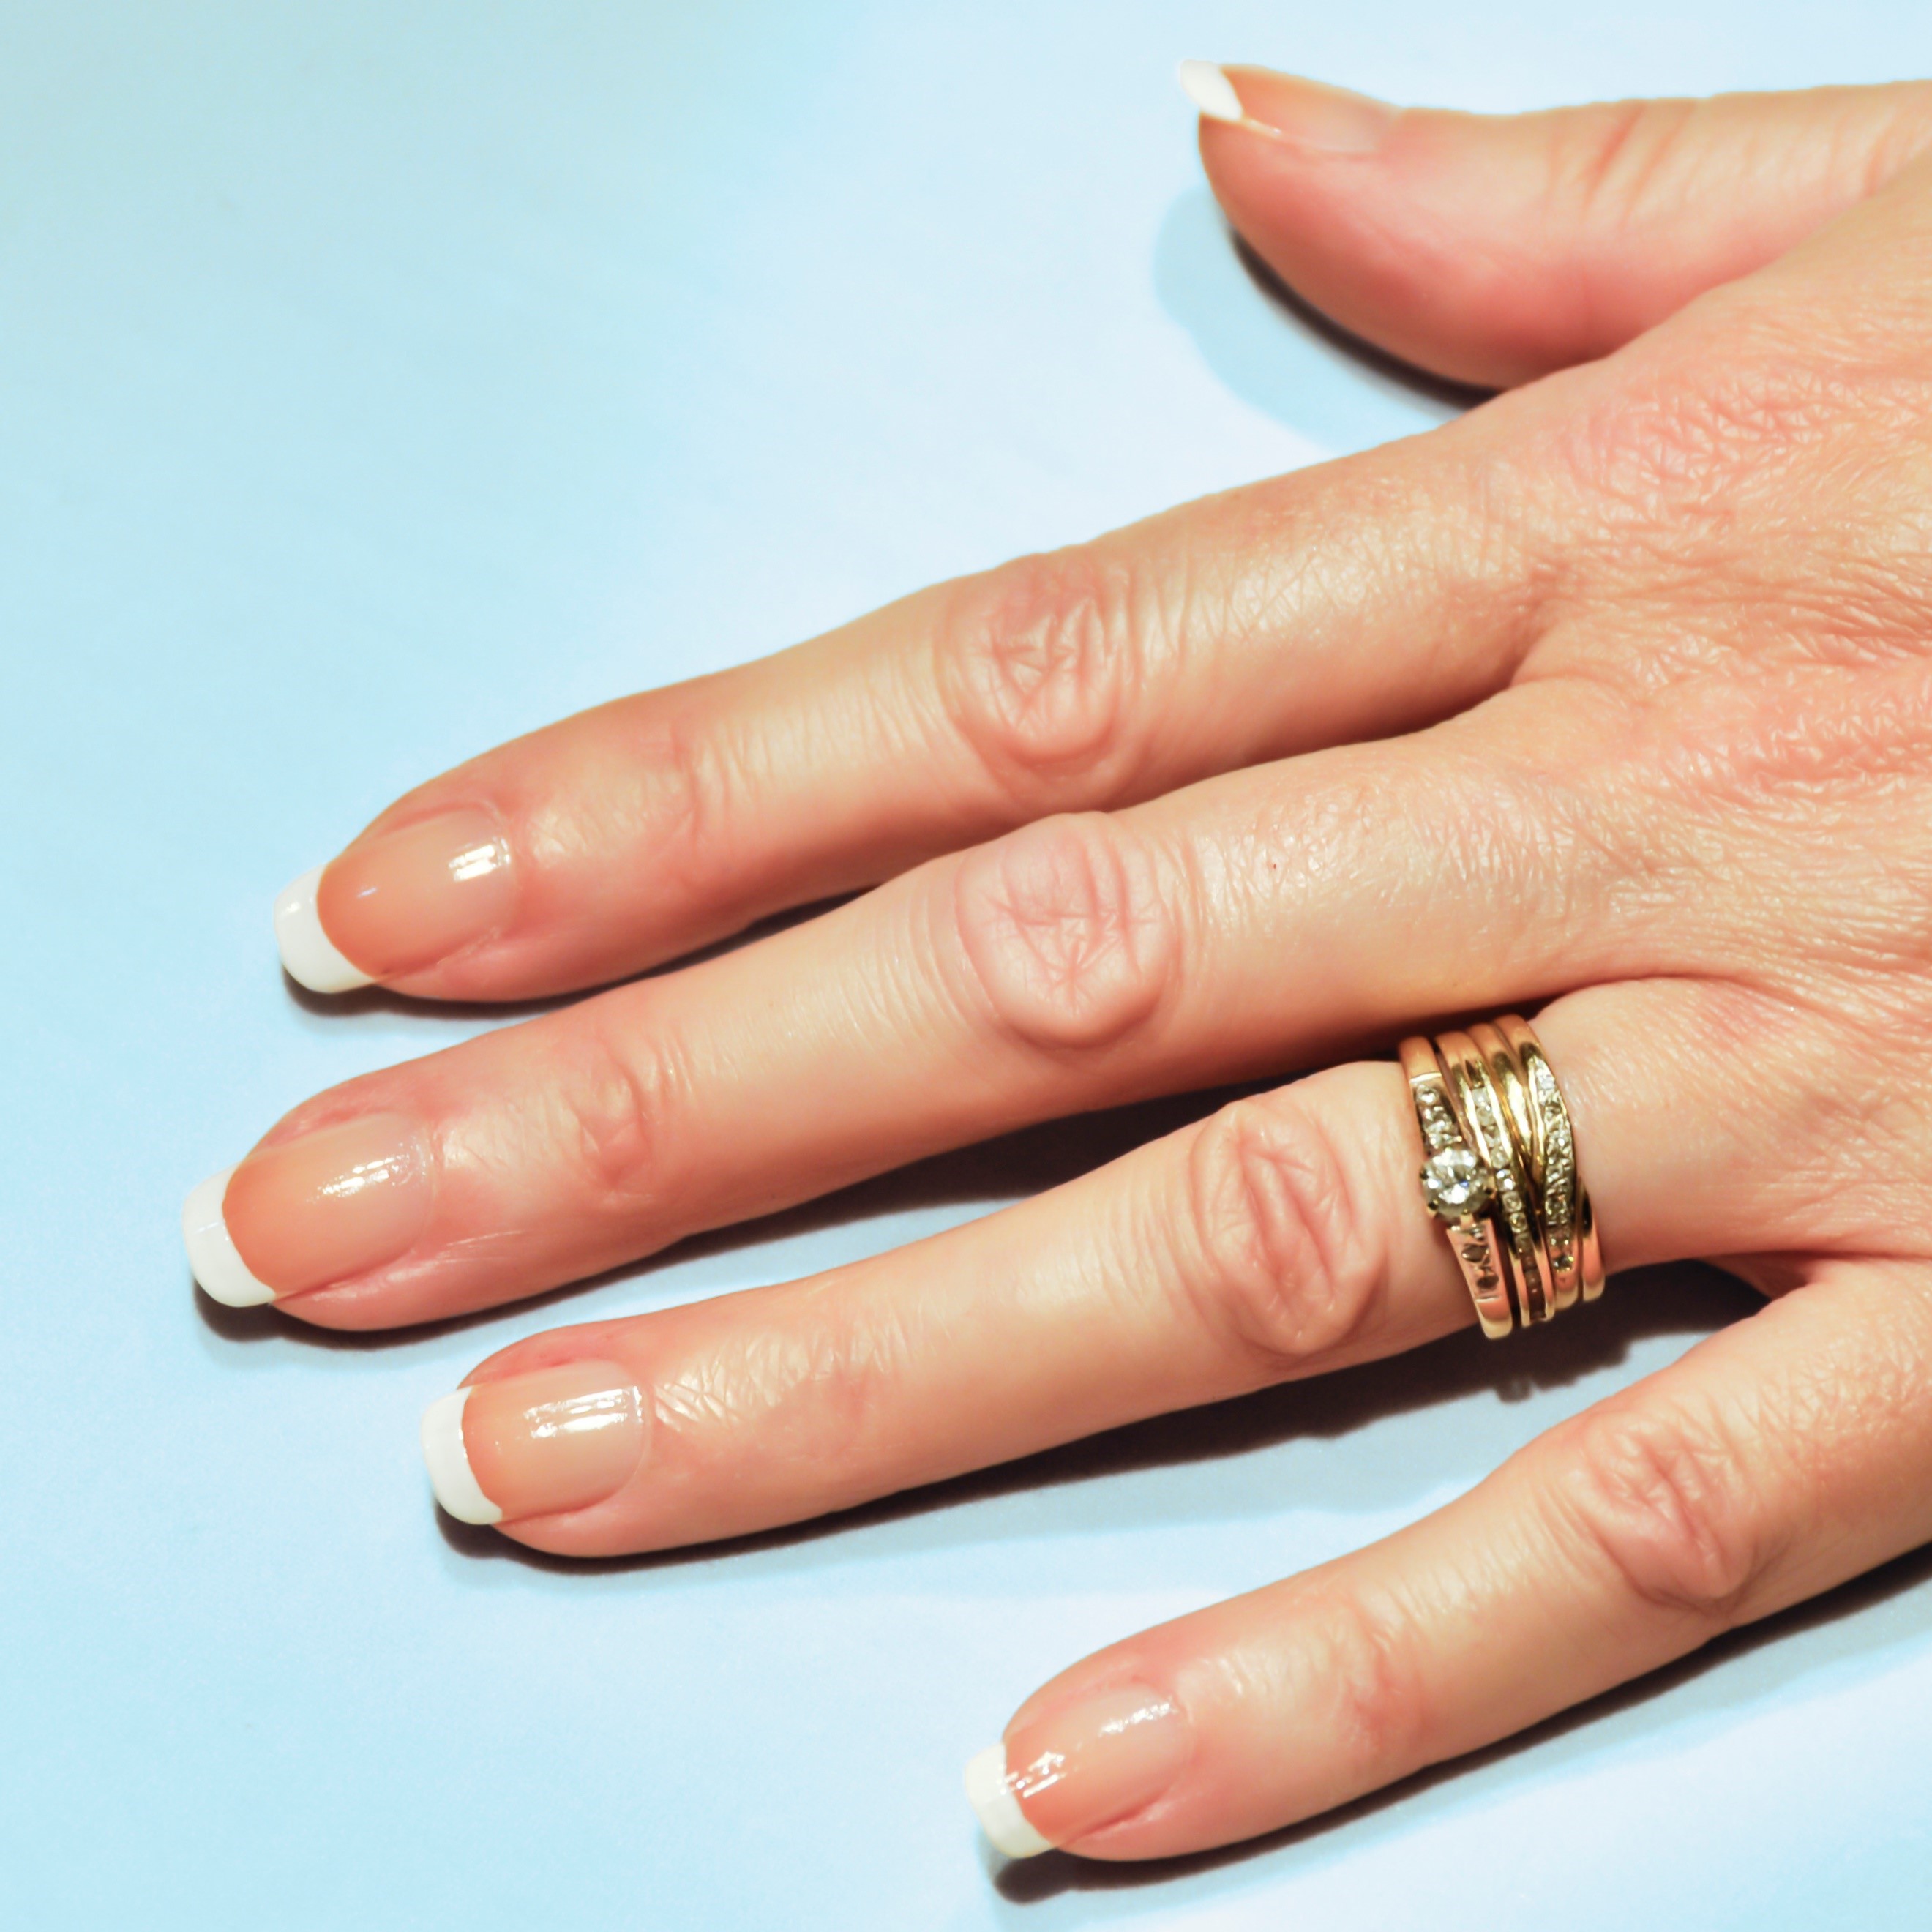
An obvious statement, but it does get easier! Once you have mastered simple single colour effects, there are so many different styles that can be created. French Manicure for example…(to be continued!)
Last but not least – if you are proud of your efforts please do share with us either on Instagram, @bwcv, or facebook!